v1.3.4 Download the free version — no account, no card. Download

—For design engineers

Every hole to standard. Every bolt as you would order it.

Steel frames, furniture, fixtures, exhibition stands: choose what you join and with what, and screwit3D drills every wall along the axis and inserts the hardware you would actually order — metric or inch, with the length computed and the bill of materials kept up to date.

01Three standards

One switch between metric, inch and 3D print.

The same switch you see in the panel. Pick the standard and every size, head, hole and countersink follows it — ISO metric, ASME inch, SI3DP when the parts come off a printer.

ISOM3–M20

Metric, to DIN / ISO

  • Clearance holes ISO 273 — close, normal, loose
  • DIN 933 · 912 · 6921 · 7991 · ISO 7380 · 14581
  • Nuts DIN 934, washers DIN 125, countersinks 90°
ASMEUNC · UNF

Inch, to ASME B18

  • #6 to 3/4", coarse UNC or fine UNF
  • B18.2.1 · B18.3 · B18.2.2 · B18.22.1
  • 82° countersinks, fractional inch input
3D PRINTSI3DP

Printable, our own standard

02Hardware

Six kinds of fastener, eight heads, seven drives.

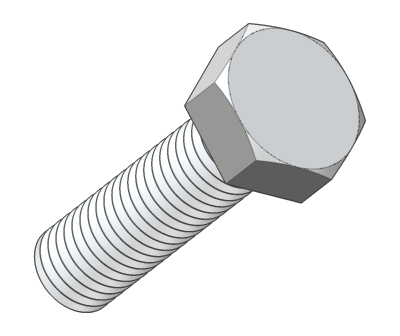
Boltnut · washers
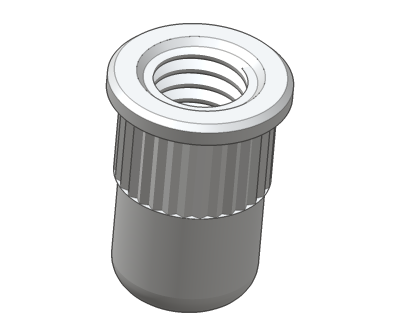
Rivet nutfor tubes
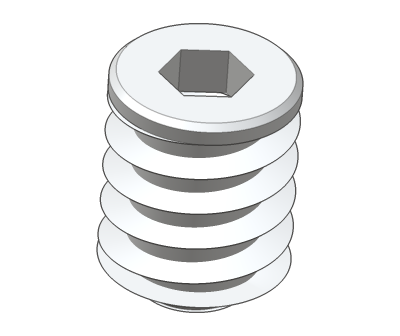
Threaded insertfor timber
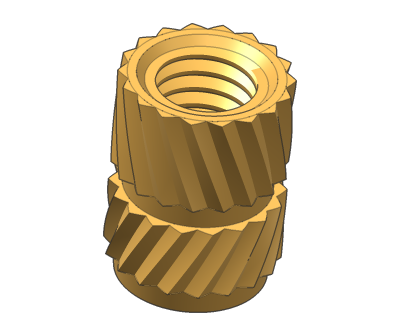
Heat-set insertfor 3D prints
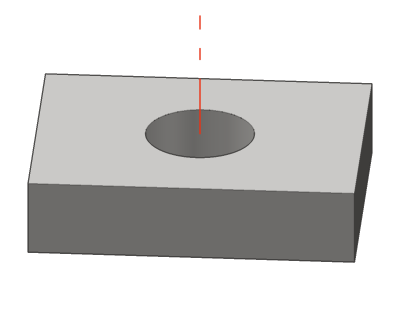
Hole onlyto standard or custom
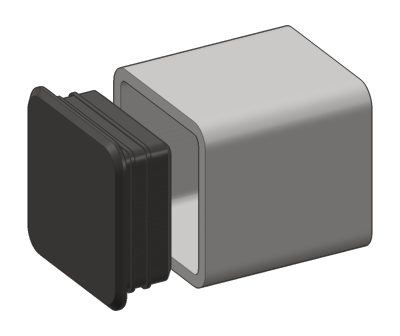
End captube · pipe · hole

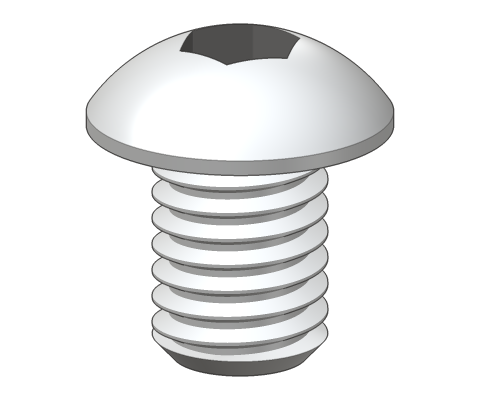
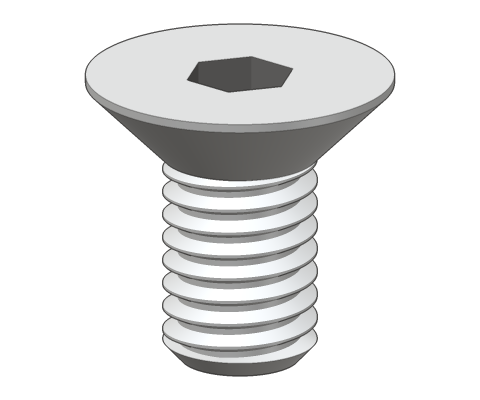
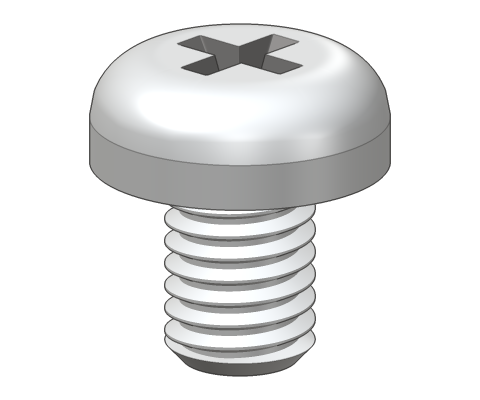
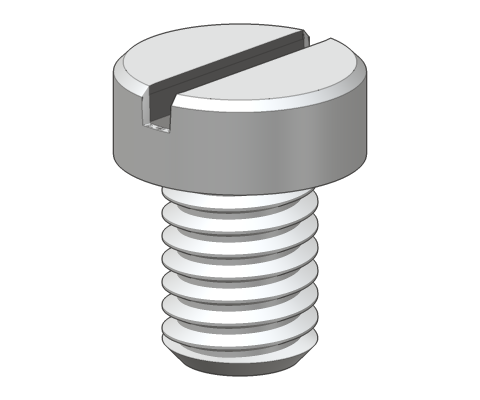
8 head types, rendered from the real geometry
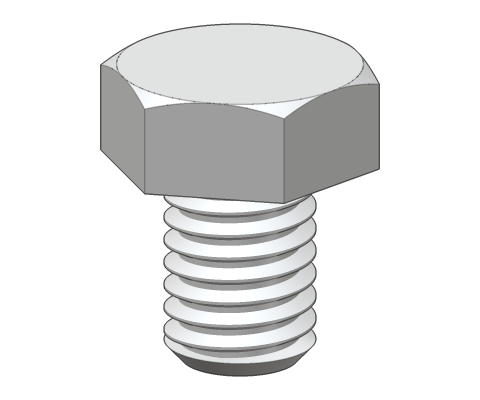
Hex
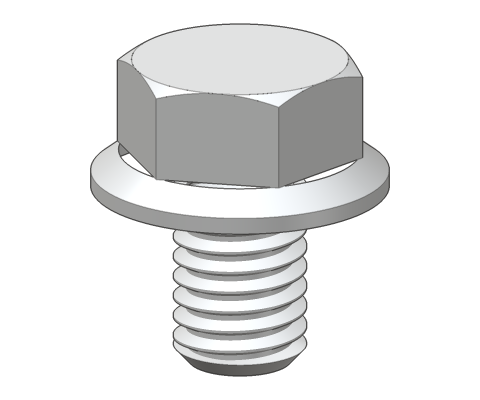
Flange
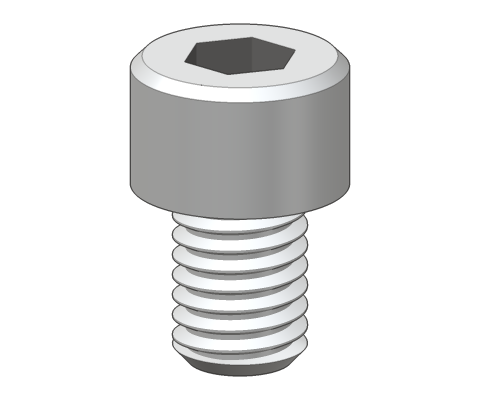
Socket cap
Button
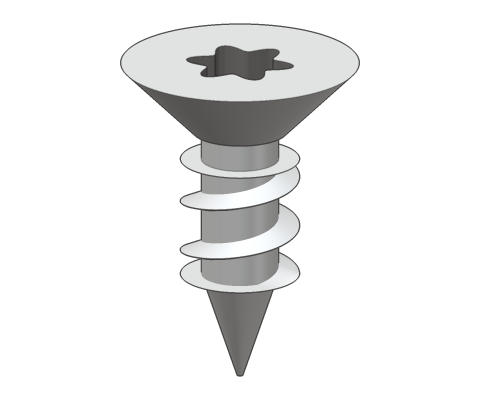
Countersunk
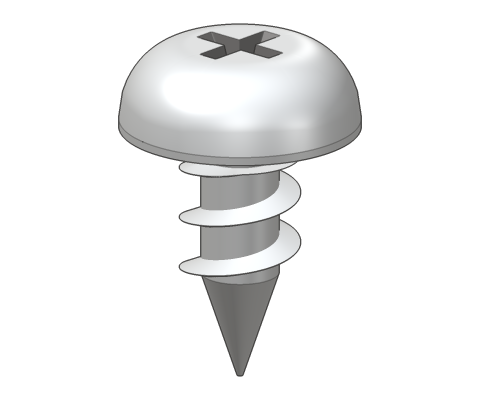
Pan
Cheese
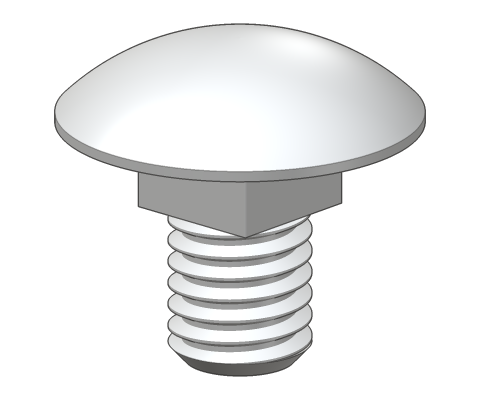
Carriage

Drives: external hex · hex socket · Torx · Phillips · Pozidriv · slot
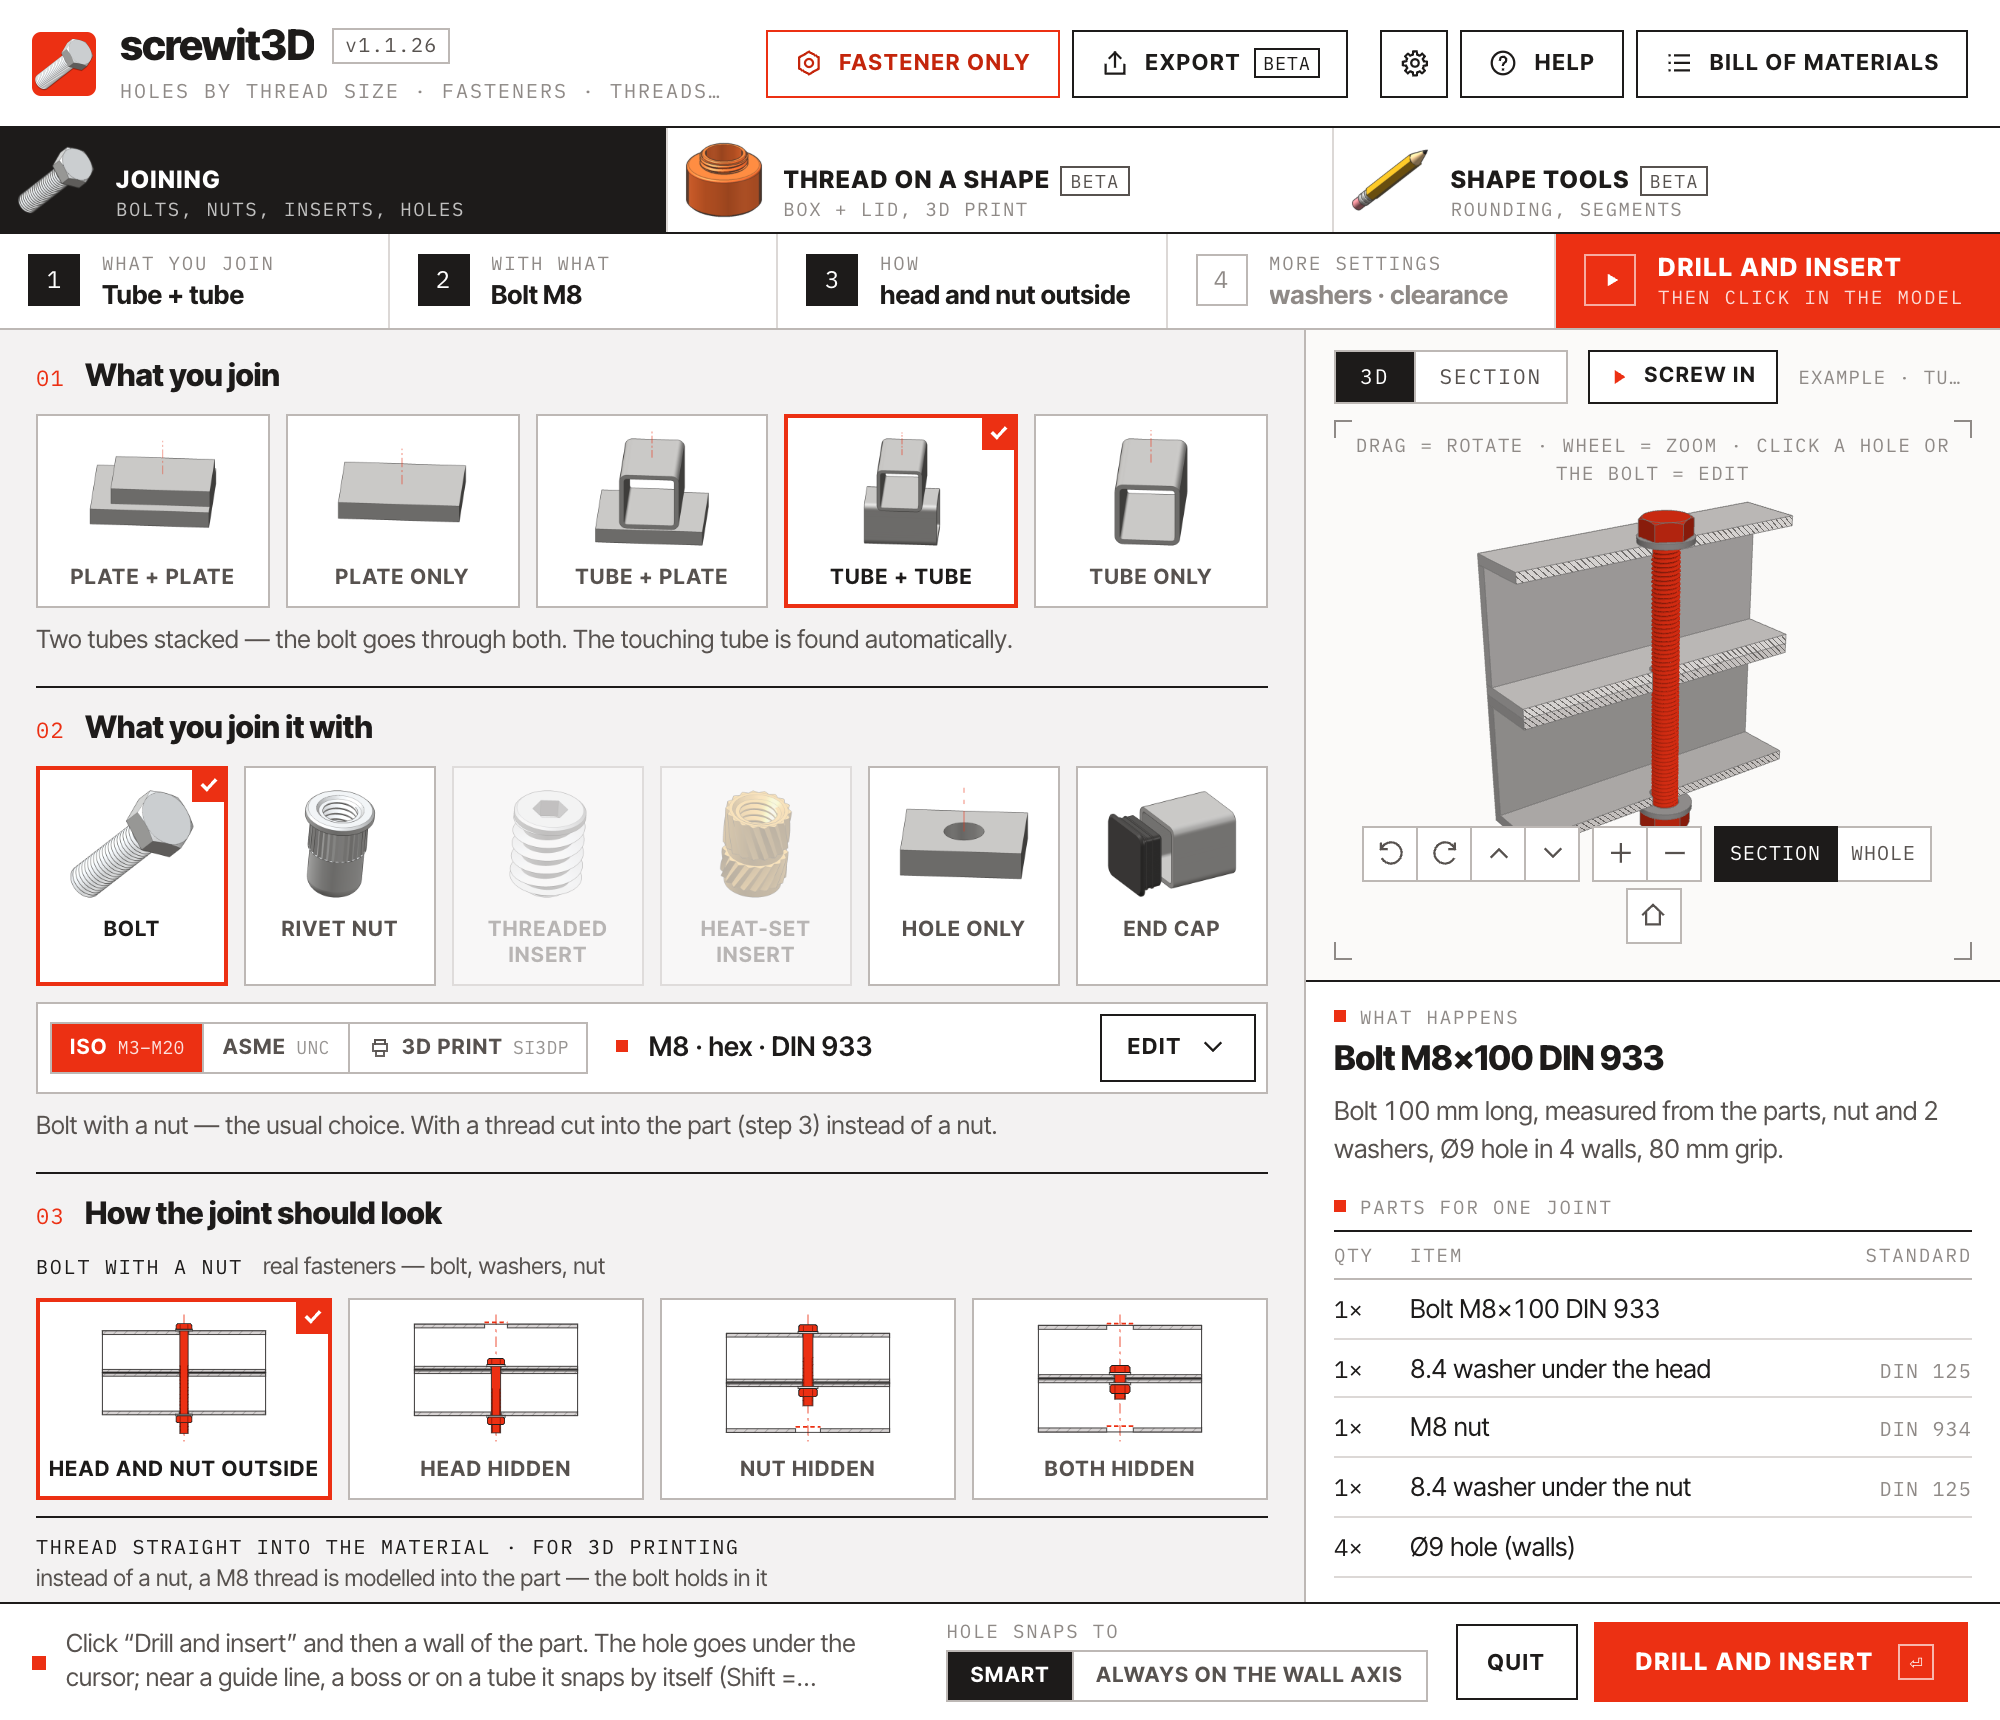
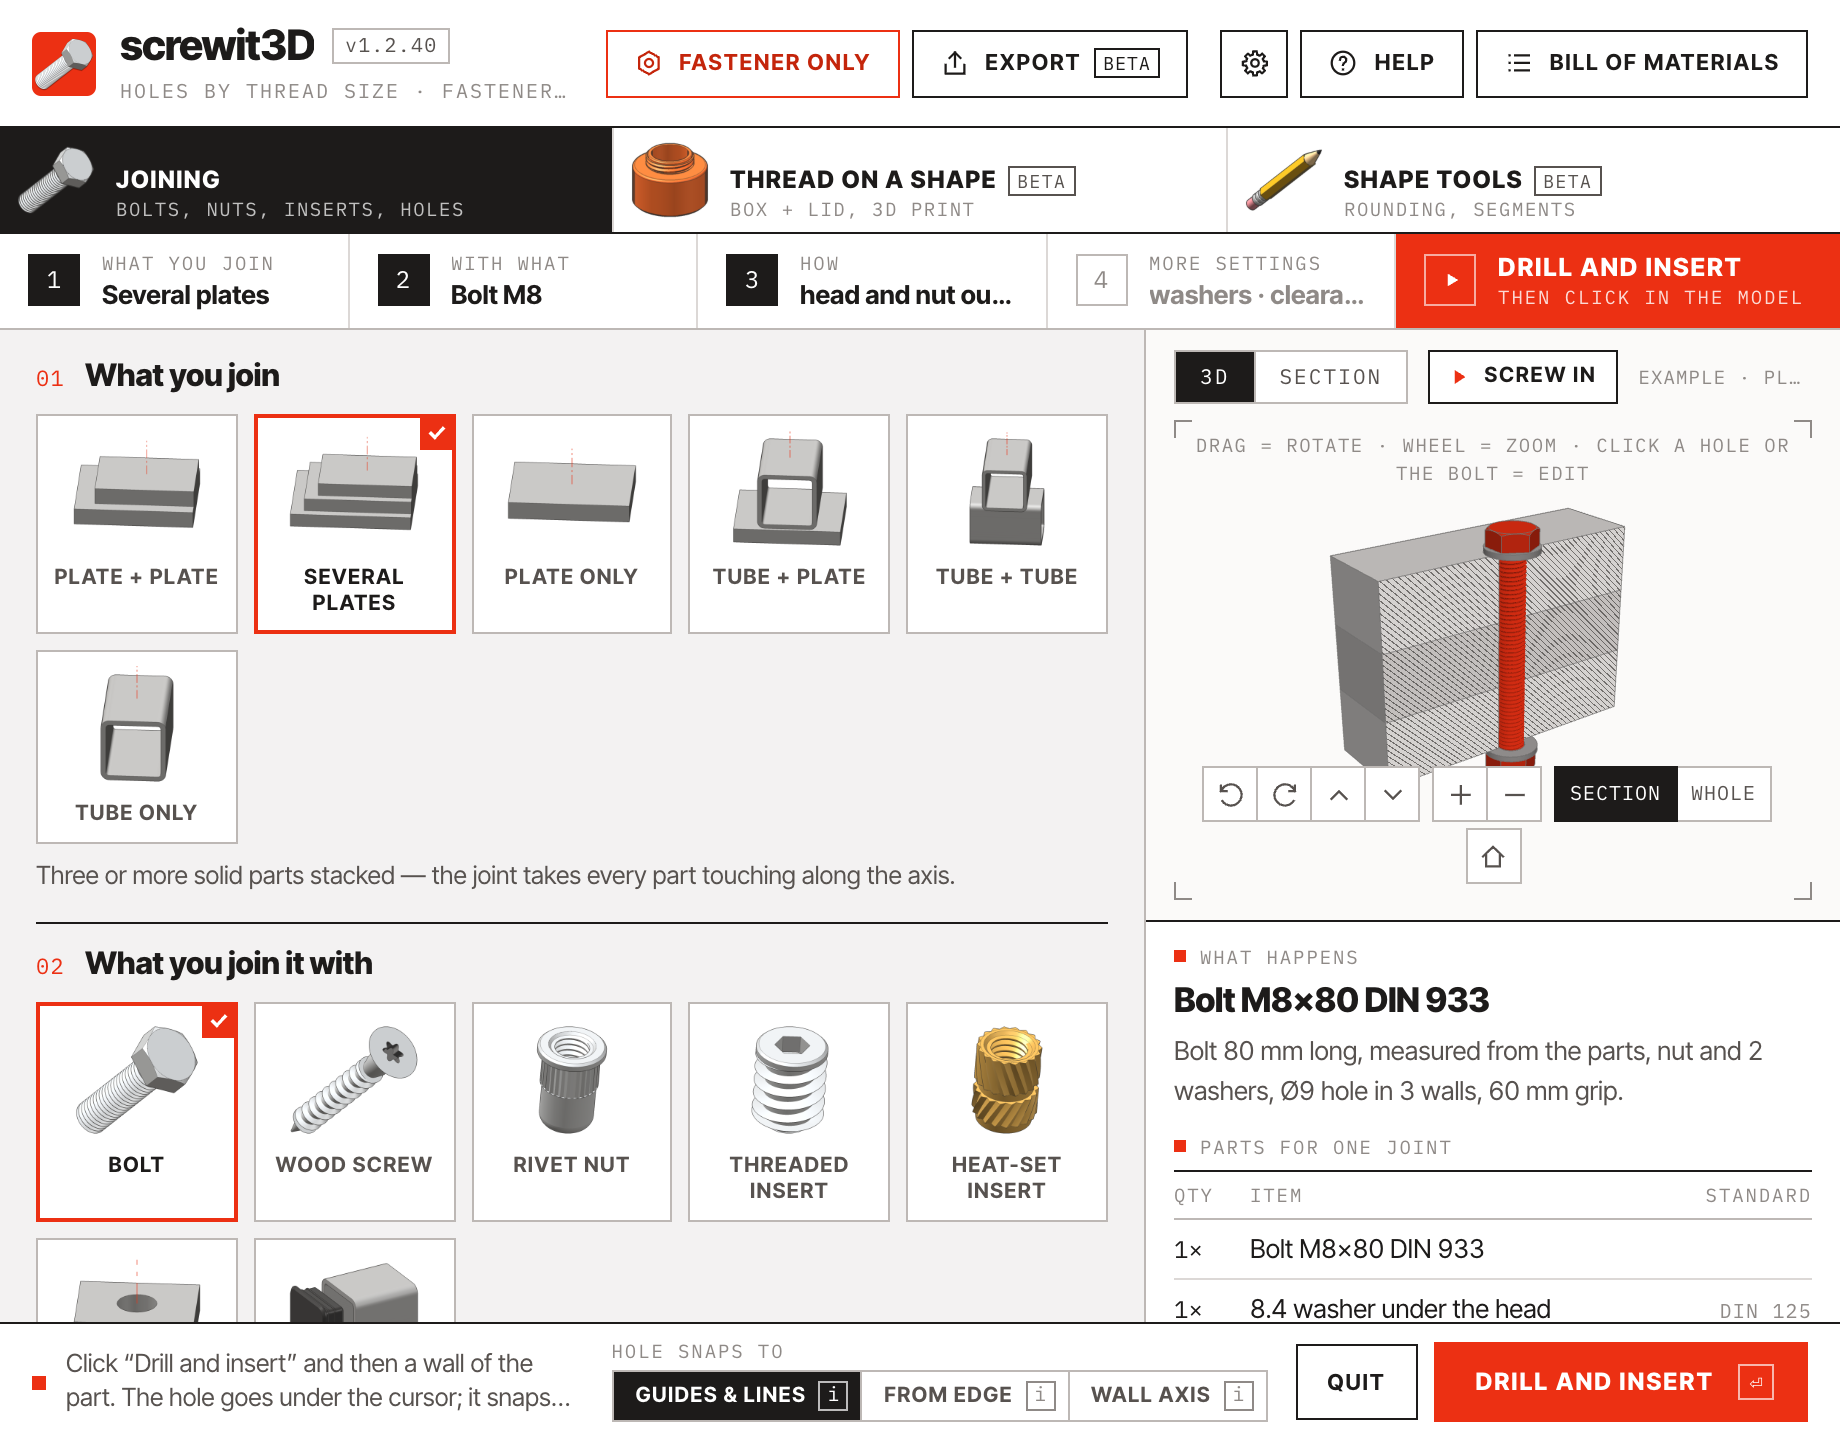
screwit3D panel: M8 bolt through two square tubes 1 2 3 4
  1. 1

    Four steps, then drill

    What you join · with what · how · more settings. The bar always shows the current choice and ends in the one red action.

  2. 2

    Three standards, one switch

    ISO, ASME or 3D print. Next to it one summary line — size, head, standard, length measured from the parts. Open it only when you need something else.

  3. 3

    Live 3D or dimensioned section

    Generated from the same plan the drilling uses — with real thread geometry on the hardware. Click a part of the fastener to jump to its setting.

  4. 4

    What happens + parts list

    A plain sentence describing the joint, and a QTY / ITEM / STANDARD table for this joint.

03Try it

Metric and inch, side by side.

The extension's own preview, running in the page. Switch between ISO and ASME, open the section, and read the parts list the joint writes into your model.

screwit3D

drag to rotate · scroll to zoom

What happens

04In SketchUp

Steel and timber, in real recordings.

05New in 1.1

Parts to DXF for CNC and laser — flat, nested, with true circles.

STL and DXF exportbeta

Select the plates, press Export, set the sheet.

Every selected part is laid flat, its outline and holes written as true circles and arcs, and nested on the sheet size you set with a gap between parts. What does not fit goes onto the next sheet — you are asked first. A selected bolt joint is split into bolt, nut and washers.
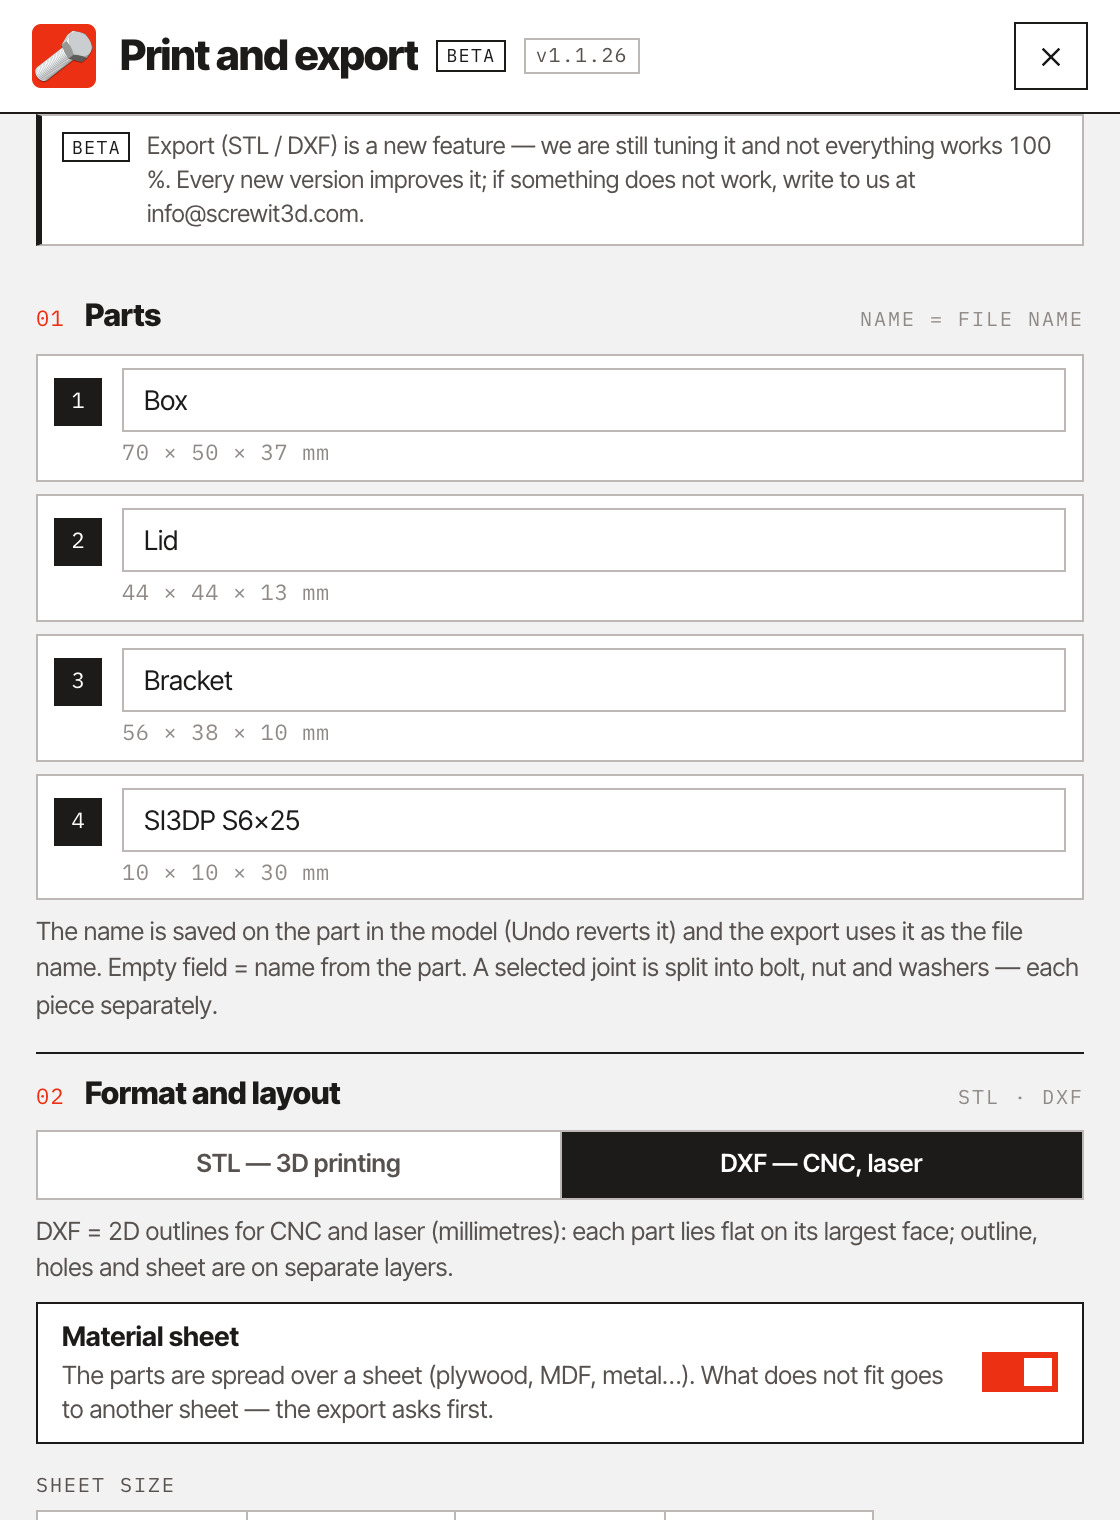
  • Lay out in the model keeps your model untouched and puts the nested copies beside it — handy for a cutting plan in LayOut.
  • Switch to STL for 3D-printed jigs, templates and end caps, laid out on your print bed.
  • Shape tools (full version) round or chamfer the edges first, so the DXF already carries the radii.
  • In the free version too.
The Export window set to DXF with a 600 × 400 mm sheet
The Export window set to DXF — parts and sheet size

06Workflow

From an empty face to a finished, editable joint.

Set up the joint

Plate to plate, plate only, tube to plate, tube to tube or tube only. Bolt, rivet nut, threaded insert, heat-set insert, plain hole or end cap. Only the joint styles that make sense for those parts are offered — each shown as a section.

Click the part

The hole goes where you point and snaps to guide points, guide lines and the centre of round features. One click cuts every wall along the axis — including parts touching the first one — and places the grouped hardware.

Edit any time

Select a joint and choose what to do: move it, change the bolt, the style or the hole diameters — typed straight in. Holes are healed and re-cut, threads included. Identical joints and copies of a component edit together.
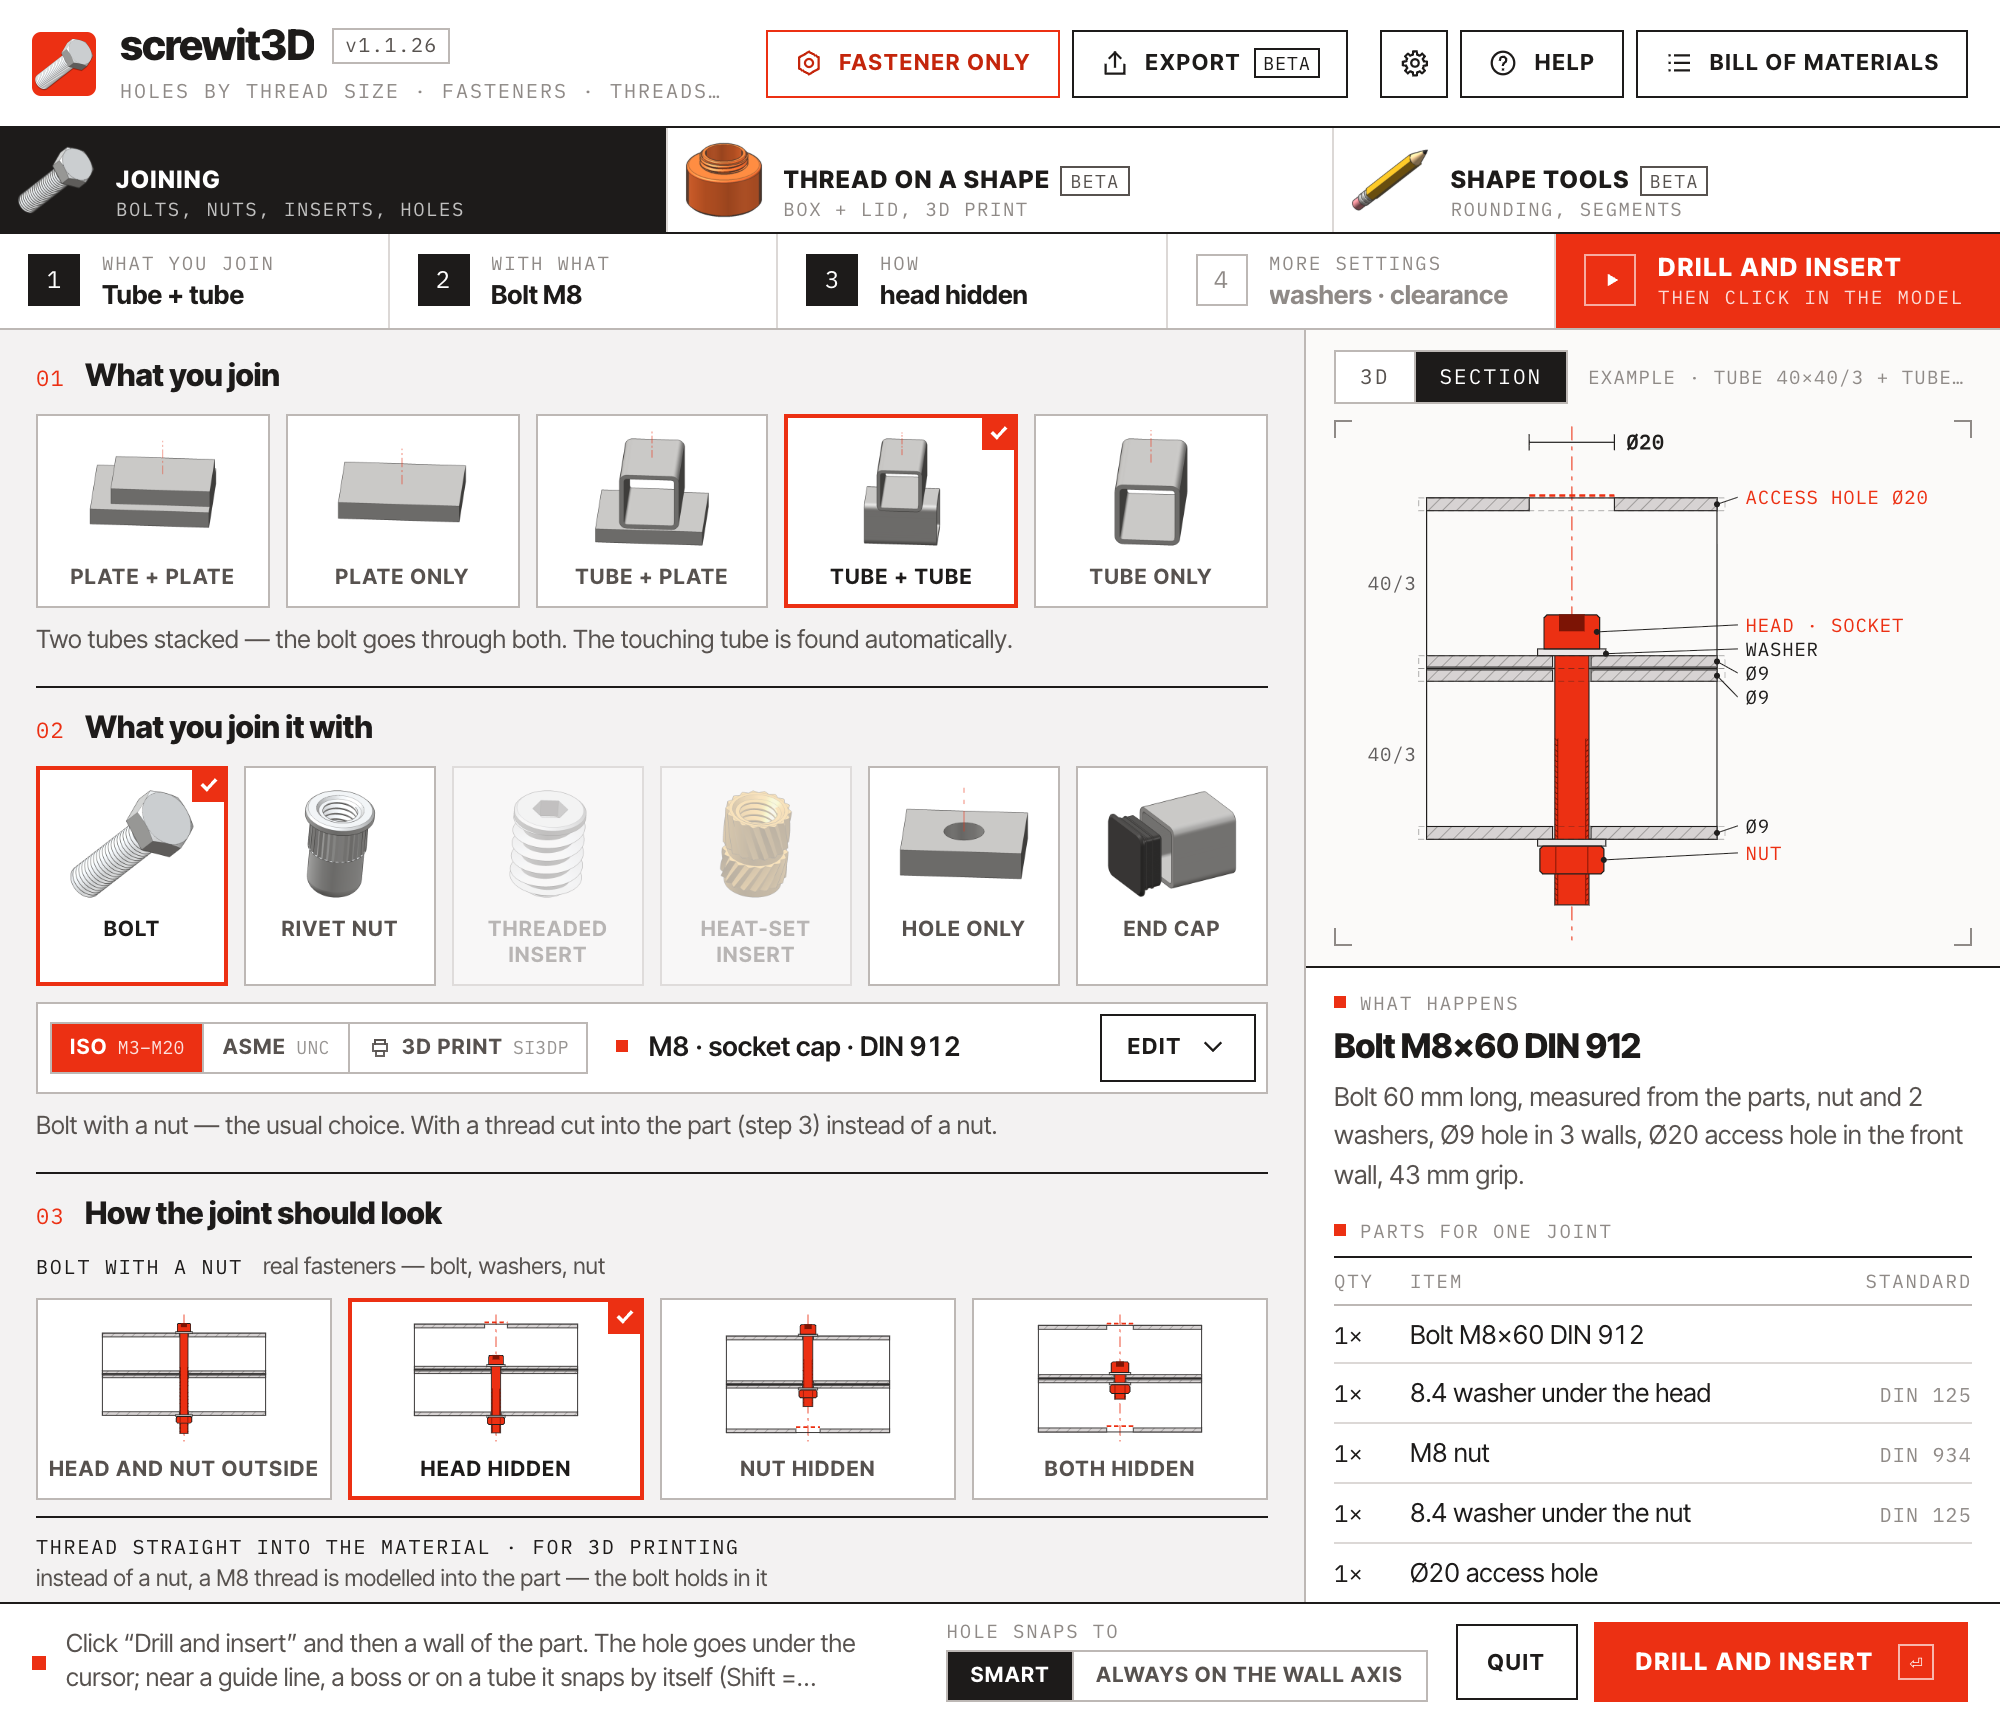
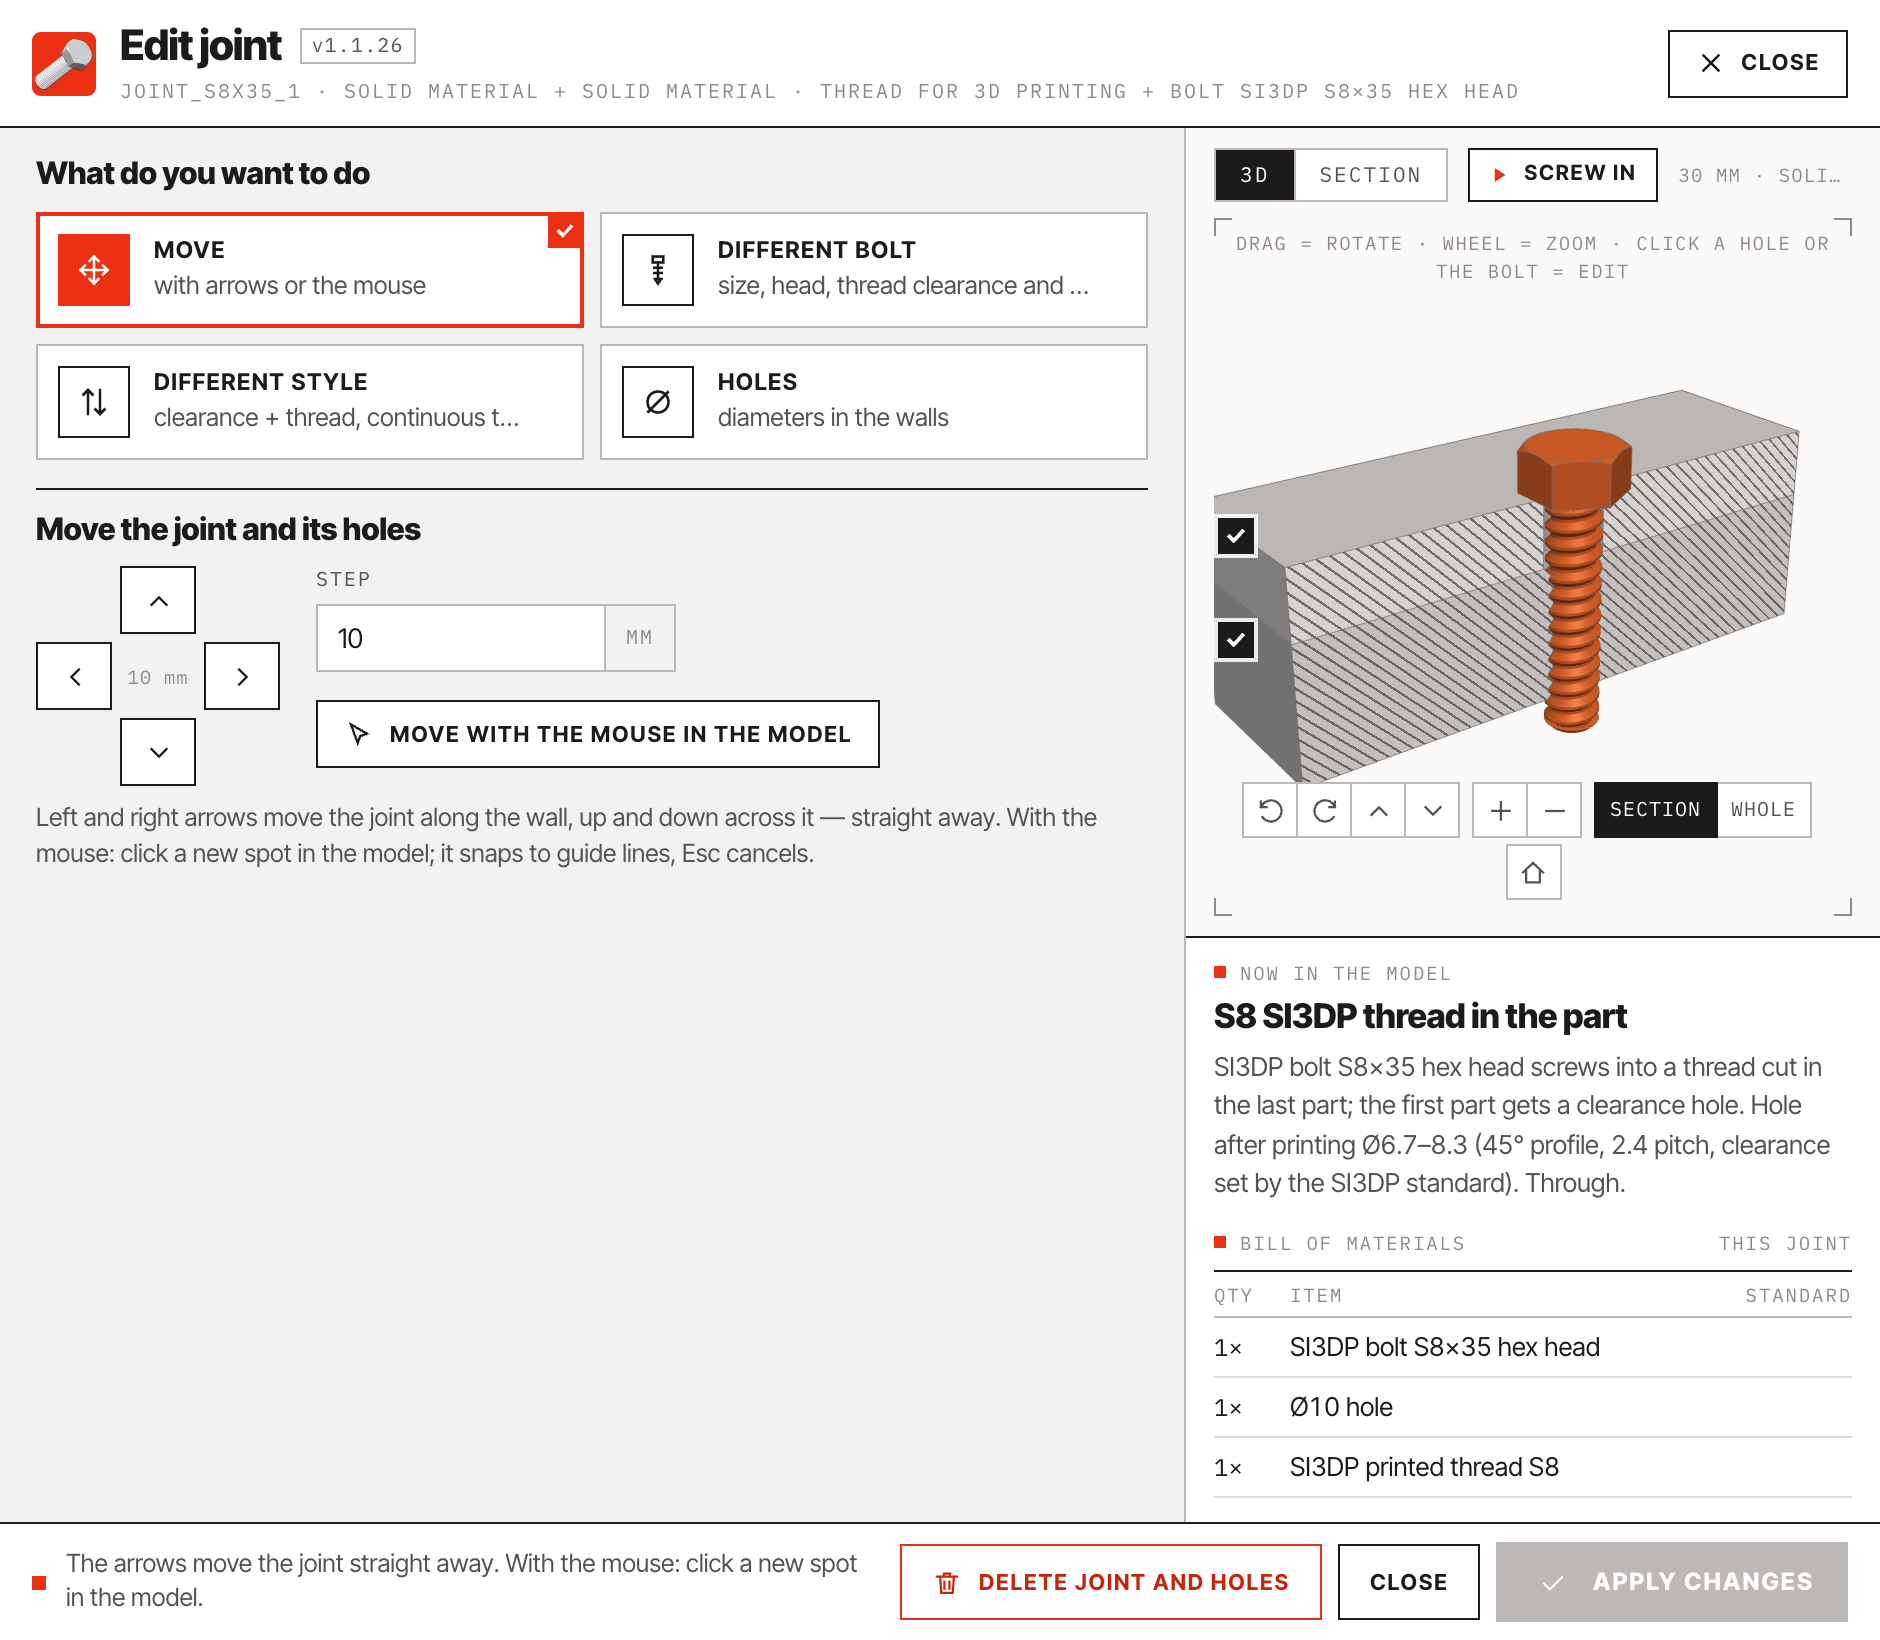
Dimensioned section of a hidden-head joint
Dimensioned section · head hidden inside the tube
Joint editor: move, different bolt, different style, holes
Joint editor · “What do you want to do”

07All features

Twelve things you no longer model by hand.

Real thread geometry

Bolts, nuts, rivet nuts and inserts carry a true helical thread, chamfers and knurling — or a light textured model when you prefer speed.

Threads without lag

Thread meshes place points only where the profile bends. An SI3DP thread needs about half the faces of an ISO one; density is adjustable from 12 to 32 points per turn.

Fastener only

One button in the header hangs a bolt, its nut or a washer on your cursor — in ISO, ASME or 3D-print sizes — to place, export and print.

Smart snapping

The hole goes where you point, snaps to guide points and lines and to the centre of a boss or a rounded corner, and centres on the wall only when the part is hollow. Type a distance for an exact offset.

Through every wall

Hollow sections are cut through both walls. Parts touching along the axis are found automatically and clamped with a single bolt.

Correct size and length

Clearance holes to ISO 273 or ASME B18.2.8 — close, normal or loose. Bolt length is computed from the clamp and rounded to the stock series.

Tunable holes and presets

Every hole around the head and nut can be adjusted before or after drilling — by ±0.5 mm or typed in — saved as a preset and reset to the standard.

Caps and plugs

End caps for square tubes and round pipes, levelling feet, and plugs for holes — flanged or flush, bought or printed with ribs.

Rivet nuts and inserts

Rivet nuts for tubes, threaded inserts for timber and brass heat-set inserts for 3D prints — with catalogue hole sizes and pilot pockets, joining two parts with the matching bolt.

Non-destructive editing

Every joint remembers its walls. Move, resize or restyle it later — even turn a bolt joint into a thread in the part and back — and the geometry is healed and re-cut.

Component-aware

Holes go into the component definition, so every instance gets them — and each placement receives its own hardware where it meets another part.

Bill of materials

All fasteners sit on a dedicated tag with catalogue names such as “Bolt M8×60 DIN 933” — in English, German, Spanish or Czech. Cut-list tools count them; the built-in report sums them up.

08New in 1.2

Wood screws, metric and inch — for the whole world. And holes that snap to lines and edges.

Version 1.2 adds the second big fastener next to the bolt: wood screws, exactly as they are made and sold — sizes and lengths by the standards and manufacturer catalogues, nothing invented. And three ways to say where the hole goes.

Wood screws · DIN · EN

Universal, classic, washer head, DIN 571, confirmat.

Pick Wood screw, choose the family, and the panel offers only heads, drives, diameters and lengths that exist: universal screws DIN 7505 (torx / PZ), classic screws DIN 7997 / 7995 / 7996 and slotted DIN 97 / 95 / 96, washer-head screws, hex-head screws DIN 571 with a washer, and confirmat screws with the stepped hole for the confirmat drill.
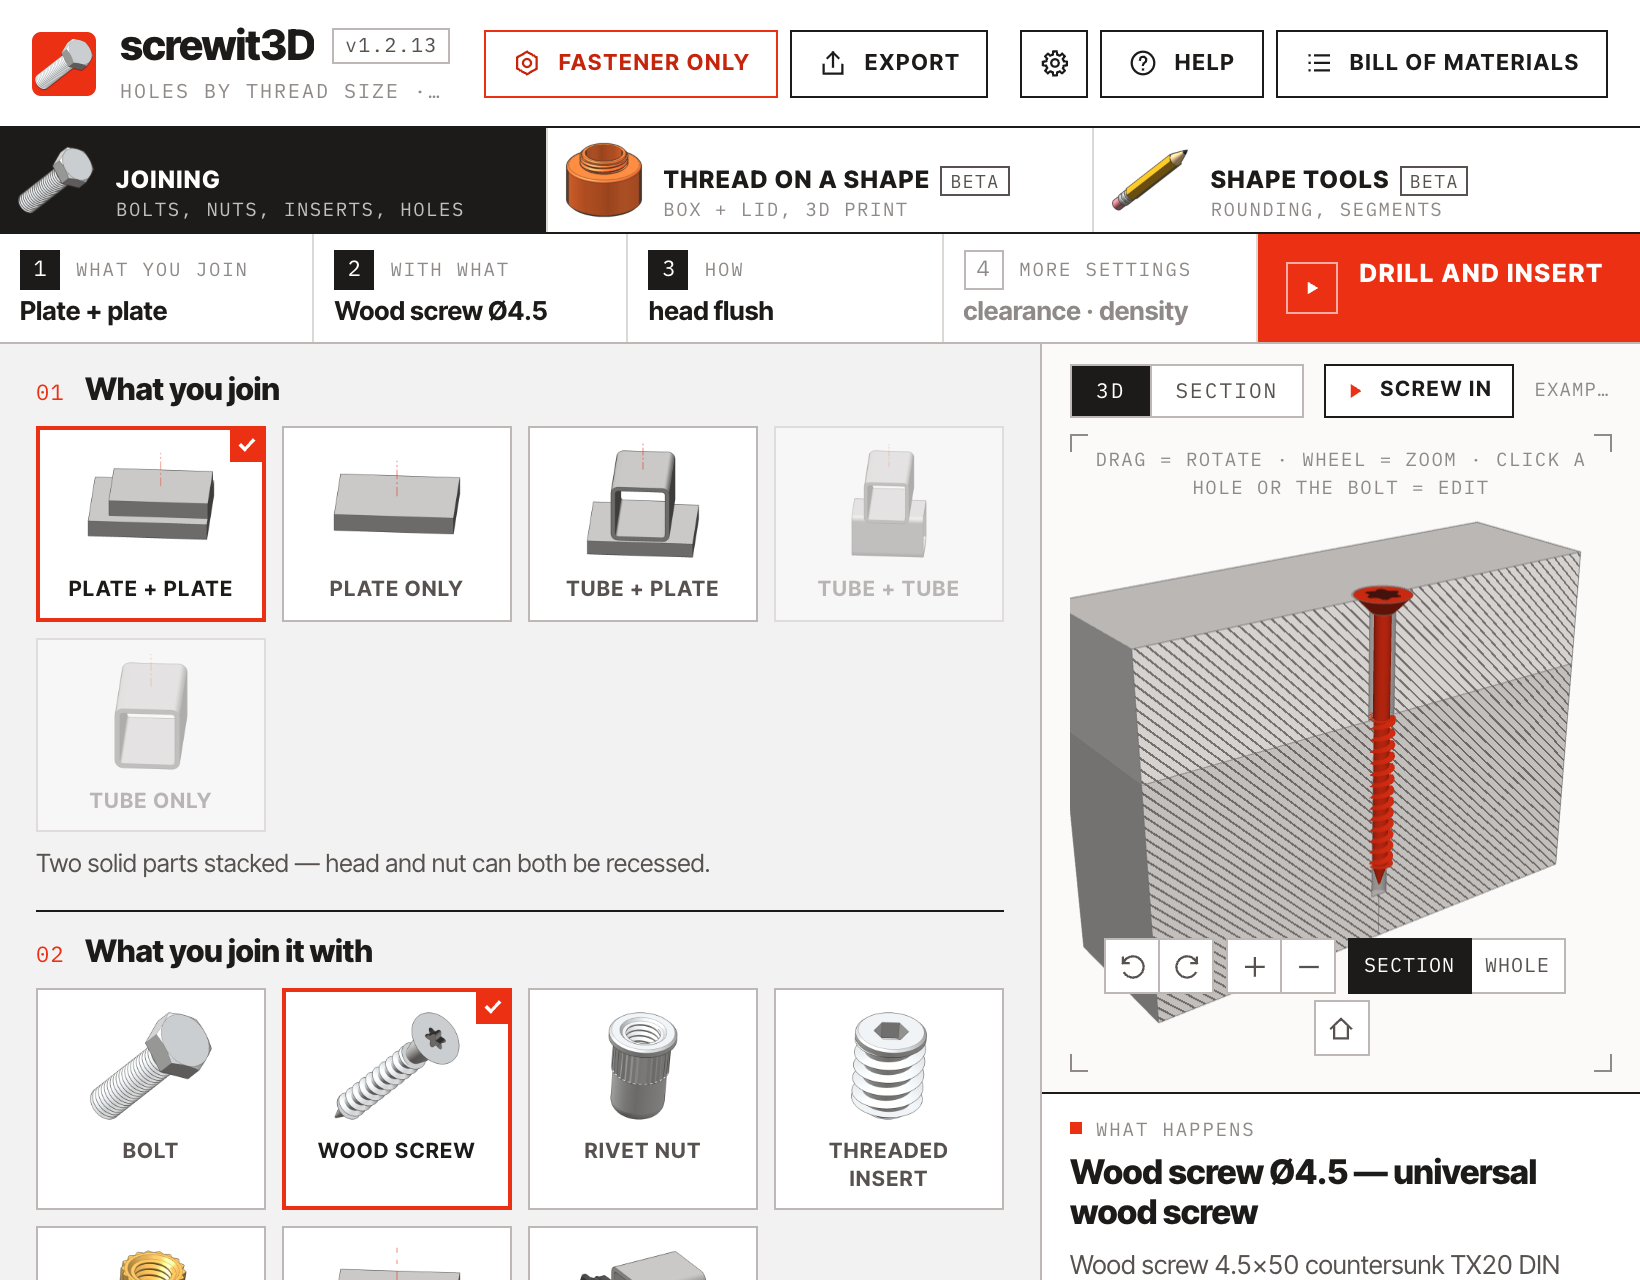

  • A wood screw cuts its own thread — no thread is ever modelled into the material.
  • The last part gets a pilot hole by the kind of wood — softwood, hardwood, chipboard / MDF; the parts before it a clearance hole, or none. Your choice.
  • The length comes from the parts: about 2.5× the thickness of the parts before the last one, always a stock length. A fixed length works too.
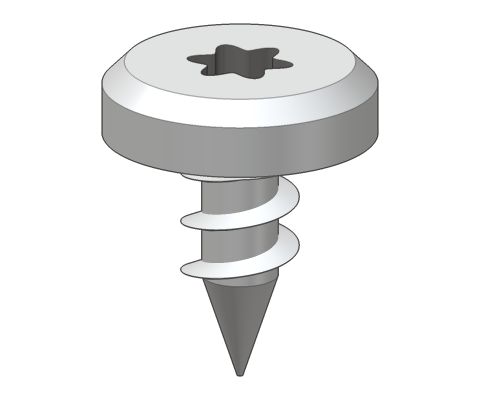
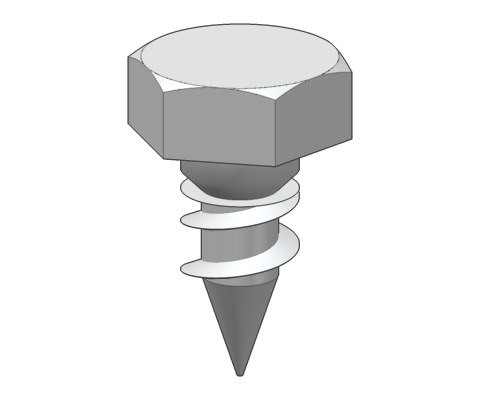
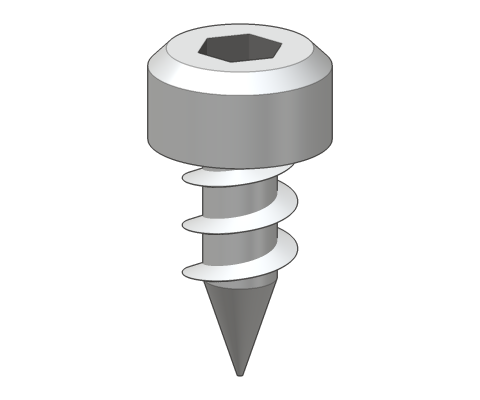
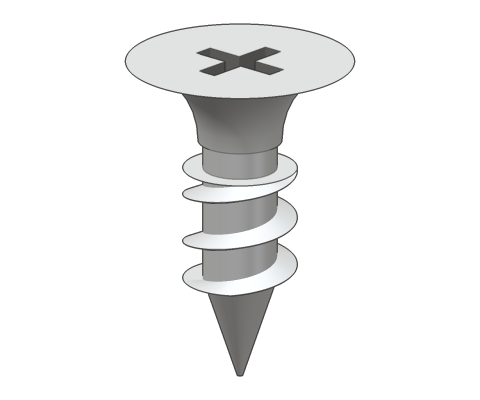
  • Wood-screw heads drawn as wood-screw heads: countersunk, raised, pan, washer, hex, cylindrical (confirmat), bugle.
screwit3D panel with a wood screw selected: family, size, head and the pilot-hole settings
The panel with a wood screw: family, diameter, head and drive, pilot hole by the kind of wood
Switch between the metric wood-screw families
Metric families (DIN · EN) — universal, classic, washer head, hex head, confirmat
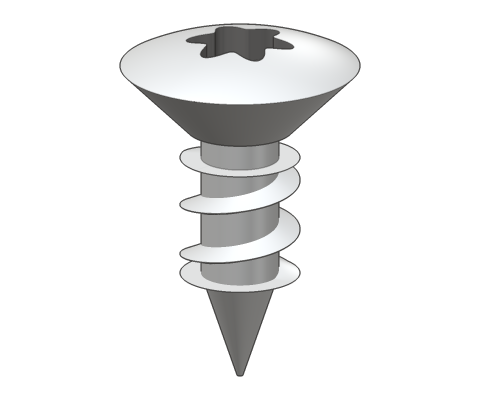
Countersunk headRaised countersunk headPan headWasher headHex headCylindrical confirmat headBugle head
Heads as the panel draws them: countersunk · raised · pan · washer · hex · cylindrical · bugle

Wood screws · ASME · ASTM

Inch screws: wood screw, deck, lag, drywall.

Switch to ASME · ASTM and the same panel speaks inch: wood screws ASME B18.6.1 from #4 to #14 (Phillips, square, slotted), deck screws #8–#10 with a bugle head (torx / square), lag screws ASME B18.2.1 from 1/4" to 3/4" with a hex head and washer, and drywall screws ASTM C1002 in #6 and #8. Lengths from manufacturer catalogues.

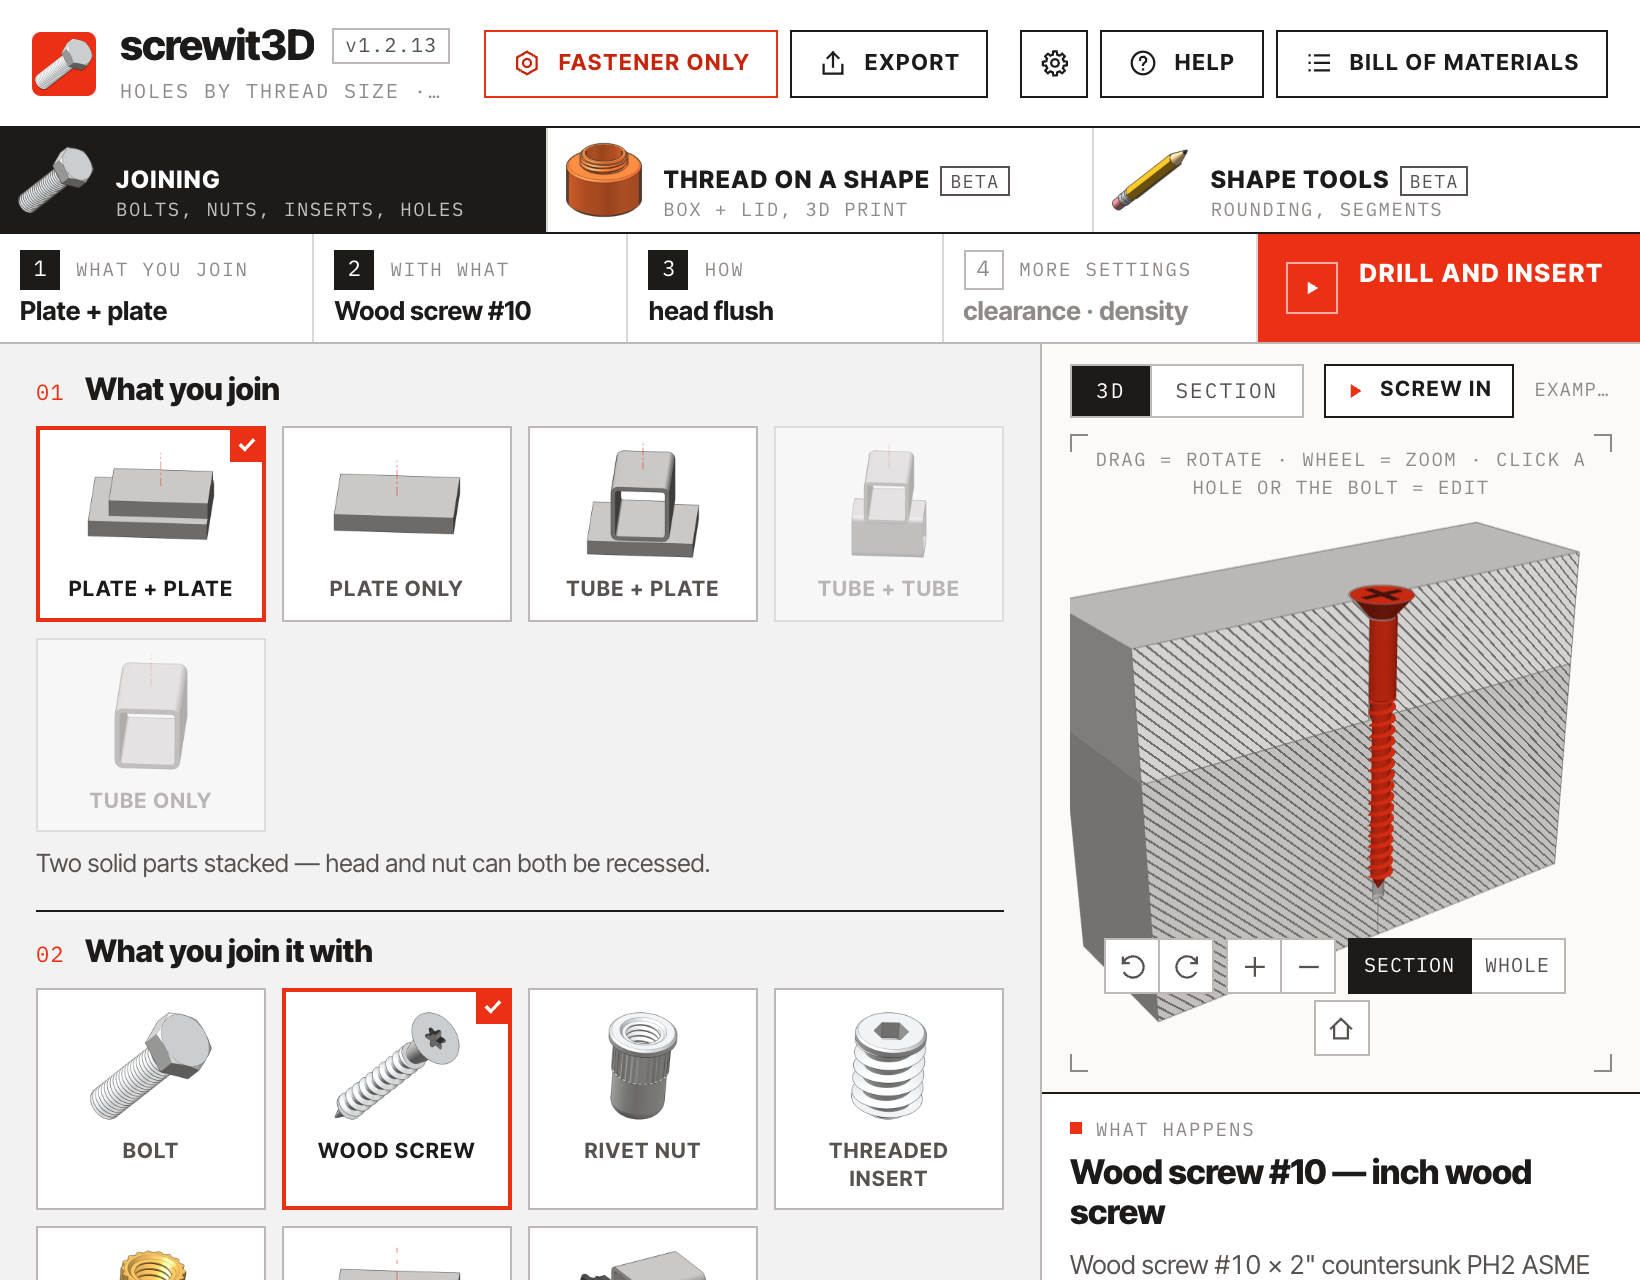
  • Sizes shown as #8 or 1/2", lengths in inches, pilot holes by the kind of wood — like the metric ones.
  • Free version: wood screws Ø4 and Ø12, #8 and 1/2" and the 7 mm confirmat — the same rule as for bolts, up to 3 of each kind in a model.
Switch between the inch wood-screw families
Inch families (ASME · ASTM) — wood screw, deck, lag, drywall
screwit3D panel with an inch wood screw
The panel in inch: #8 wood screw, lengths from the catalogue

Where the hole goes

Guides & lines · From edge · Wall axis.

Three ways at the bottom of the panel. Guides & lines: the hole goes under the cursor, and near a guide line or a line drawn on the face it snaps onto it — exactly onto a crossing, over a post onto its centre, on a tube onto the wall axis. From edge: type a distance, say 20 mm, and the hole centre snaps at that distance from the nearest straight edge — in a corner from both edges. Wall axis: always on the axis of the wall — and it stops on a guide line that crosses the axis, on a line drawn on the face and at a guide point.

  • Shift = anywhere, Alt (Ctrl on Windows) = the other way for a moment. The same choice is in the right-click menu in the model.
  • An i icon next to each option plays a short demo of how it is used. The three loops on the right are those demos.
The three snapping options at the bottom of the panel: Guides and lines, From edge with a distance, Wall axis
The bottom of the panel: Guides & lines · From edge with its distance · Wall axis
The demos from the panel: a guide line drawn with the Tape Measure and a line on the face · 20 mm from the edge and the corner · the wall axis of a tube

Also new in 1.2.10 – 1.2.13

Blind holes, holes that are already there, rows that tell you what won't fit.

Smaller things from everyday work on cabinets and shelves.
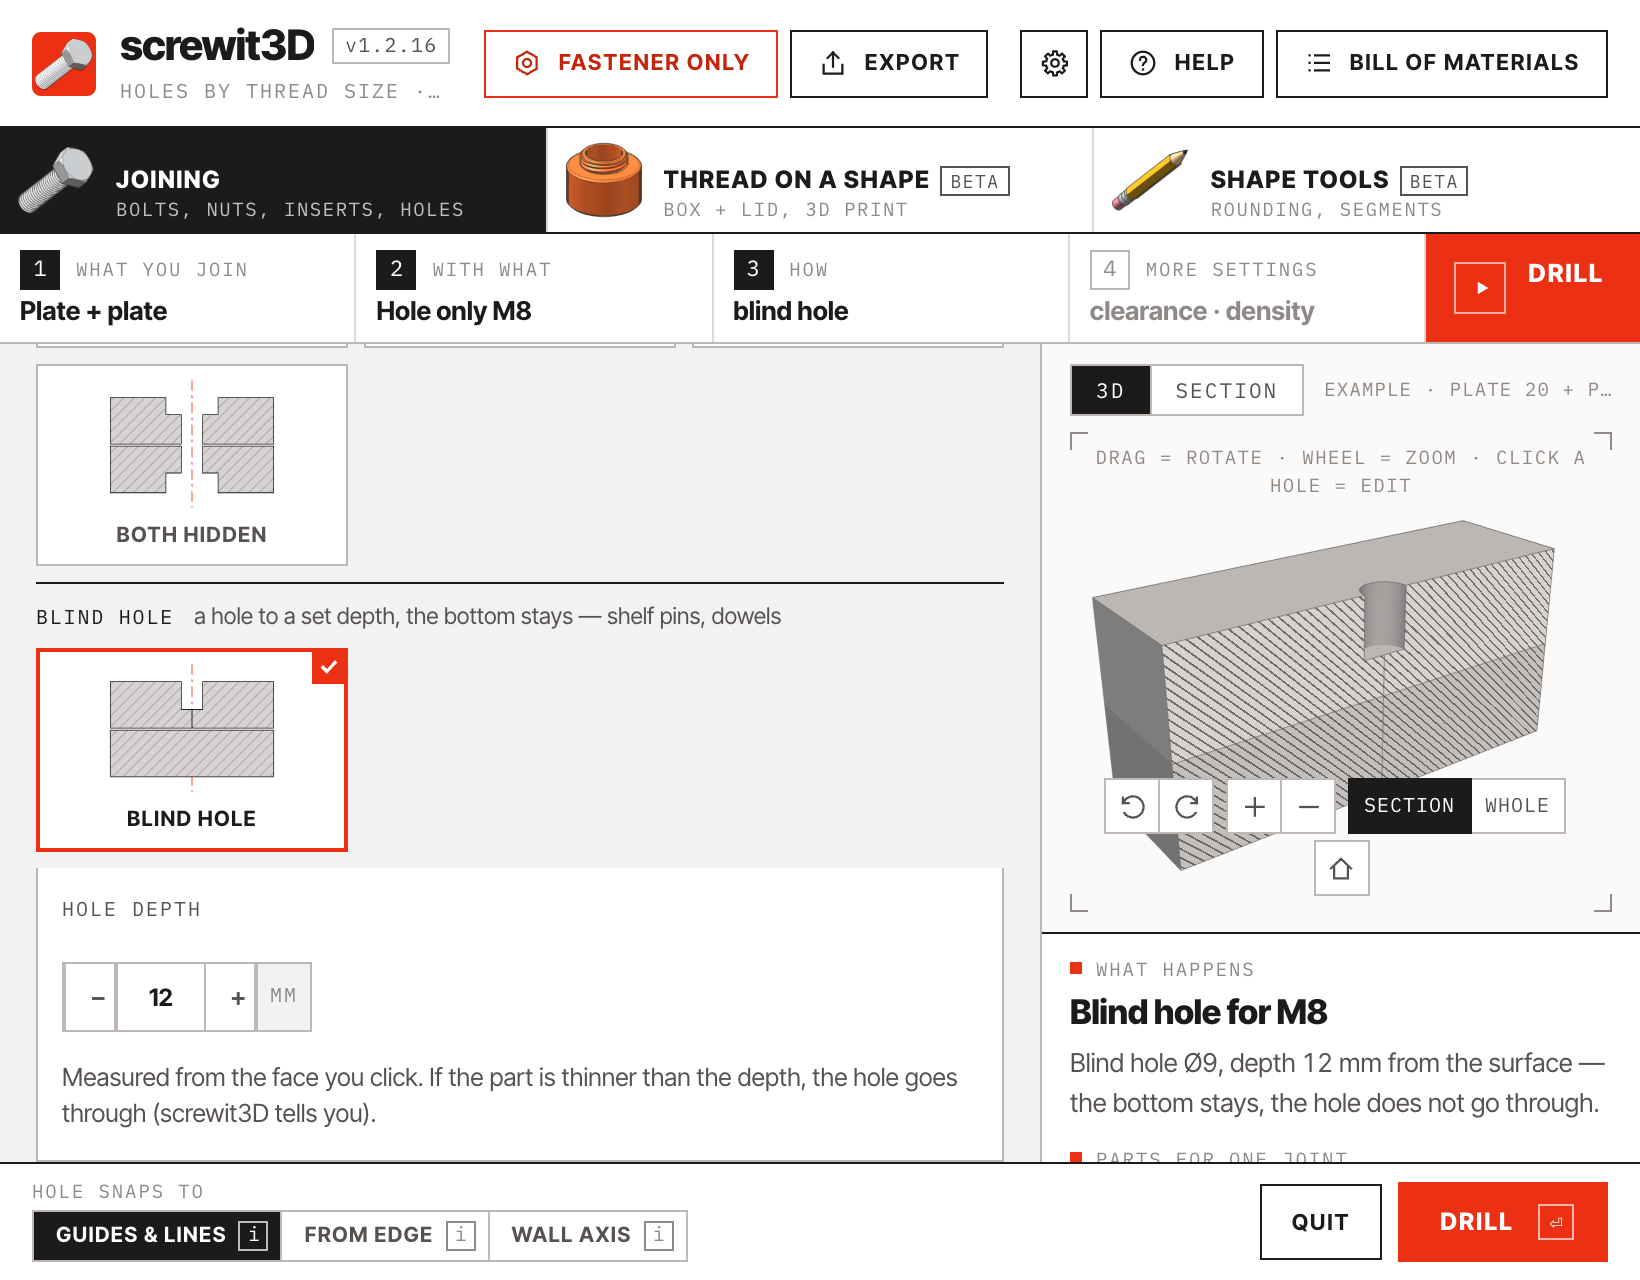
  • Blind hole. “Hole only” has a Blind hole option in step 3 with a depth in mm, measured from the face you click — the bottom stays. For shelf pins and dowels. If the part is thinner, the hole goes through and screwit3D says so. Fill between and rows make blind holes too.
  • A hole already in a part is reused — a shelf as a component with its holes gets the fastener right into them, no second hole next to it.
  • Both sides of a cabinet as one component get the screw on the other side too.
  • The row preview tells the truth: new holes and screws are blue where they fit and red where they don't, with the reason right in the preview — before you click Fill.
screwit3D panel with Hole only and the Blind hole option with a depth of 12 mm
Hole only → Blind hole, depth 12 mm from the face — the bottom stays

New in 1.2.17 – 1.2.40 · Bolt position

Screwed in or unscrewed — in the model and in every scene.

The joint edit window has a Bolt position section. Set a bolt screwed in or unscrewed in the model — it stays that way after you save and reopen the file. With scenes you set it for each scene, and when the scene changes the bolt screws in or out, for as long as the scene transition takes.
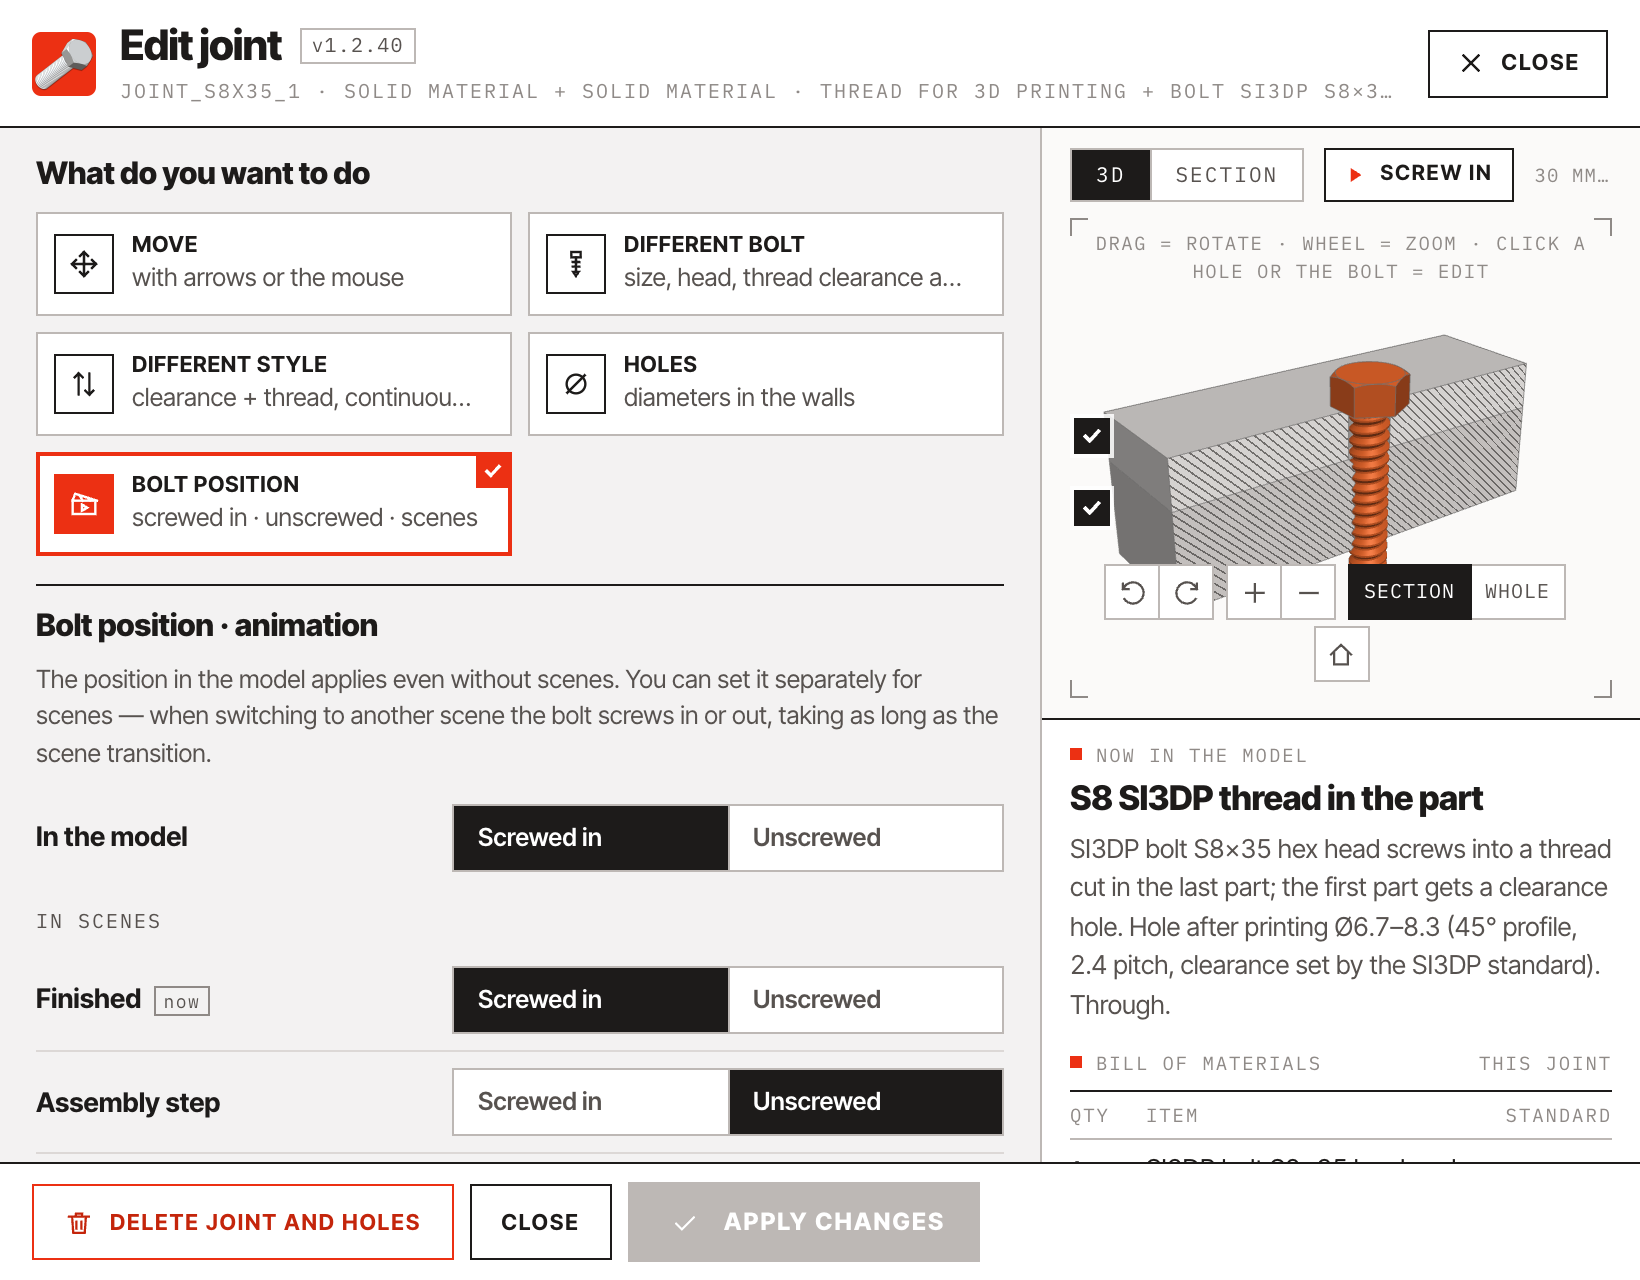
  • Scenes without their own setting follow the position in the model.
  • An unscrewed bolt can be clicked and edited like any other.
  • Assembly drawings and presentations with the bolts out of their holes — without copying or moving a single bolt by hand.
Edit joint window with the Bolt position section: screwed in or unscrewed in the model and for each scene
Edit joint → Bolt position: in the model and for each scene — Finished screwed in, Assembly step unscrewed

Copies · Several plates · OpenCutList

No hole without a bolt — and when it doesn't work, it says why.

Most models reuse components. screwit3D now looks after every copy of the parts you drill.
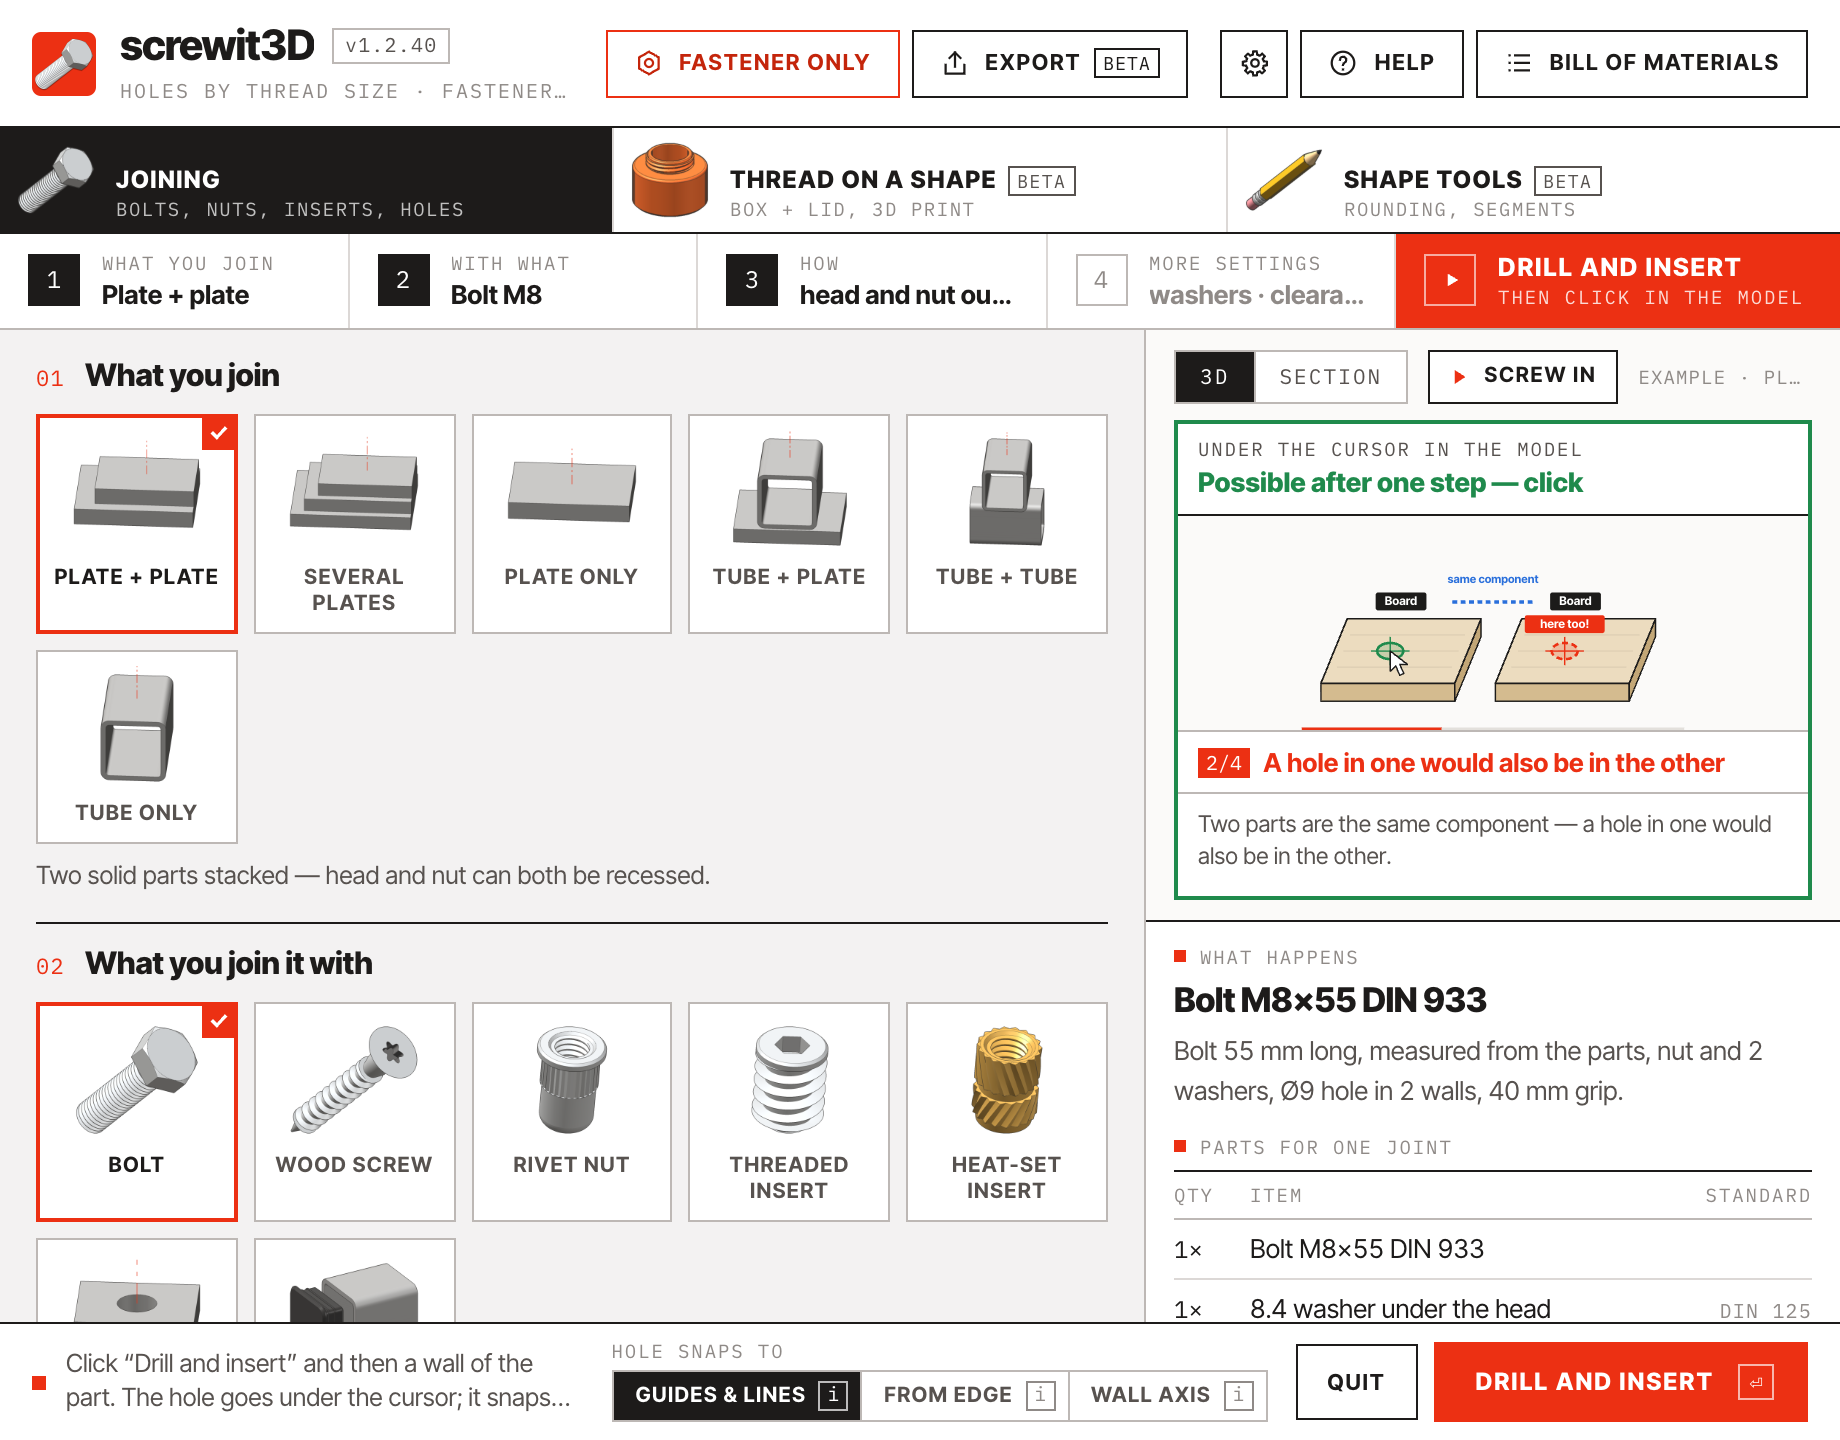
  • Copies elsewhere in the model that would get a hole without a bolt are separated while drilling (Make Unique) — also a copy turned differently (mirrored, 180°) and a part inside an assembly used several times. No question: the status bar says what was separated and one Undo reverts everything.
  • Two parts of the joint are the same component, or the part already has a hole from a copy: screwit3D asks once and makes the part unique. Copies of a whole assembly — both sides of a chair — stay identical and get the bolt on both sides.
  • Several plates — a new choice in step 1: the joint takes every plate touching along the axis, three or more.
  • A part between selected parts — say a board between two selected tubes — always goes into the joint, even if it is not selected itself. The cursor message says “parts from the selection: 2 selected”.
  • A short message at the cursor: “It works — click”, what gets inserted and how many times it appears in the model. Where it doesn't work, the title says why — try another spot, one more step, or change the settings — and the panel plays a step-by-step animation. The “over the edge” message names the part.
  • The hole circle has the real hole size and a fill: blue = drill, green = after one step, red = not possible here.
  • OpenCutList groups fasteners by type (Bolt DIN 933, Nut DIN 934…). For wood screws the pilot hole you choose is always drilled.
screwit3D panel with a card explaining step by step why drilling needs one more step: two boards of the same component, Make Unique
Not possible yet? The panel shows why, step by step — here two boards of the same component
screwit3D panel with Several plates selected in step 1 and one bolt through three plates in the preview
Step 1 → Several plates: one bolt through all three

09New in 1.1.25

Rows of joints, editable holes and a screw-in animation.

Version 1.1.25 is about working with many joints at once: fill a row between two bolts, edit that row later, change every identical joint in one go — and watch the bolt go in.

Fill in between · Row

Two bolts at the ends. The rest fills in by itself.

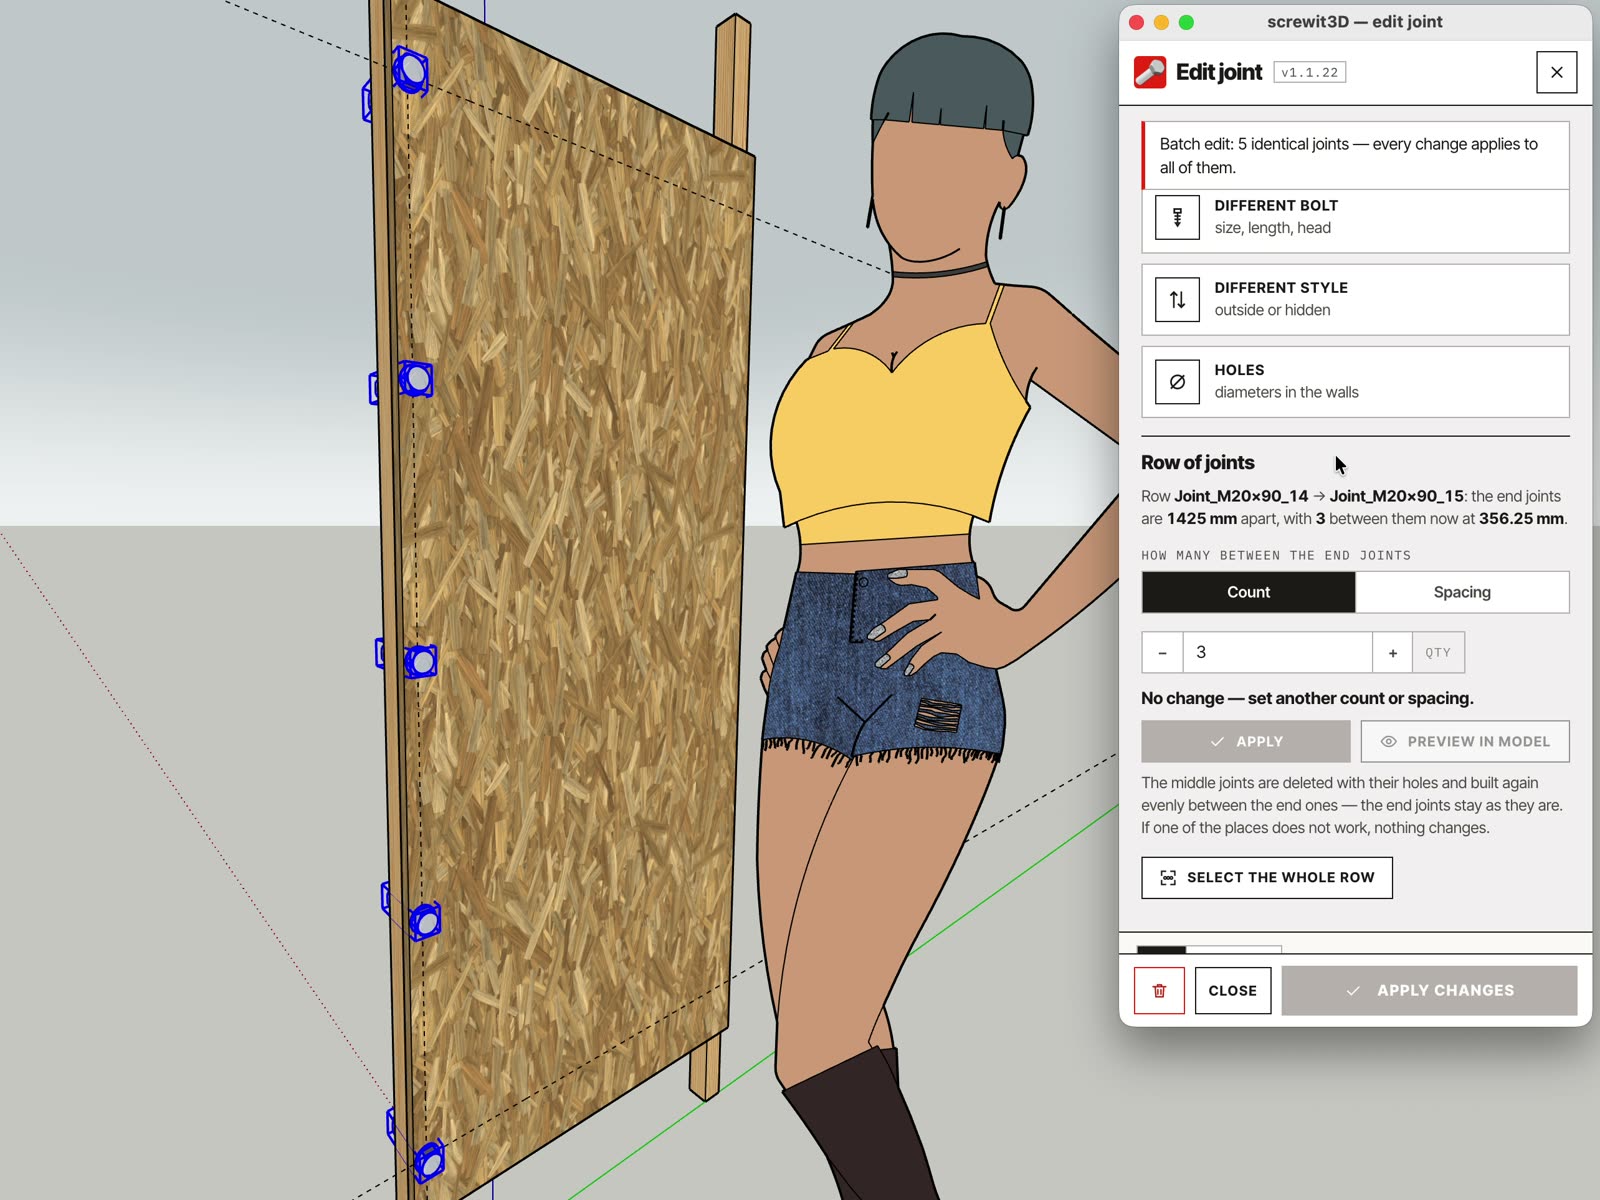
Select two identical joints — say a bolt at each end of a board — and choose Fill in between in the edit window. Set a count or the largest spacing and the joints in between are spread evenly, same fastener, same holes. Preview in model shows where they will go before anything changes.

  • A row remembers how it was made: click any joint of it, choose Row, add or remove joints or change the spacing — the middle ones are spread again.
  • One Undo reverts the whole fill. If one place does not work — outside the material, into a hole or another joint — nothing changes and the window says why.
  • In copies of a component the joints are added in every copy. Select the whole row picks all of them at once.
Fill in between on a plywood panel — two bolts become a row of five, with the preview in the model first. Real screen recording.

Screw in

Press ▶ and watch the bolt go in.

The ▶ button in the 3D preview plays how the fastener goes into the material — and from the edit window it plays right in the model as well, for the selected joints and their component copies. A bolt into a thread or an anchor turns and advances exactly one pitch per turn; with a nut, the bolt slides through the holes and the nut spins on.

  • Your model does not change: the parts go back exactly in place at the end, or when you stop, and nothing is added to Undo.
  • Also from the menu: Screw in the selected joints.
Screw in, played in the model — bolt, washer and nut through a plate and a batten

Holes · identical joints · Drill tool

Smaller things that save clicks.

Three more changes to everyday joining.
  • Holes without a fastener can be edited. A plain hole, or a thread in the part without a bolt, gets a transparent blue marker: click it to move the hole, change its diameter or delete it — or select two and fill in between. Markers sit on their own HOLE MARKERS tag and never go into the export or the bill of materials.
  • Select all identical. The edit window says how many identical joints the model has — same fastener, same holes — and one button selects them all. Whatever you change next applies to all of them.
  • Drill tool on a finished joint. Click a bolt right after drilling and its edit window opens — no need to switch to Select first. Next to the bolt you keep drilling as before.
Plywood panel with blue markers showing where the new joints of a row will go, and the edit window beside it
Blue markers: the preview of a row before it is made — the same markers mark plain holes without a fastener

10The details

The small things that save a rework.

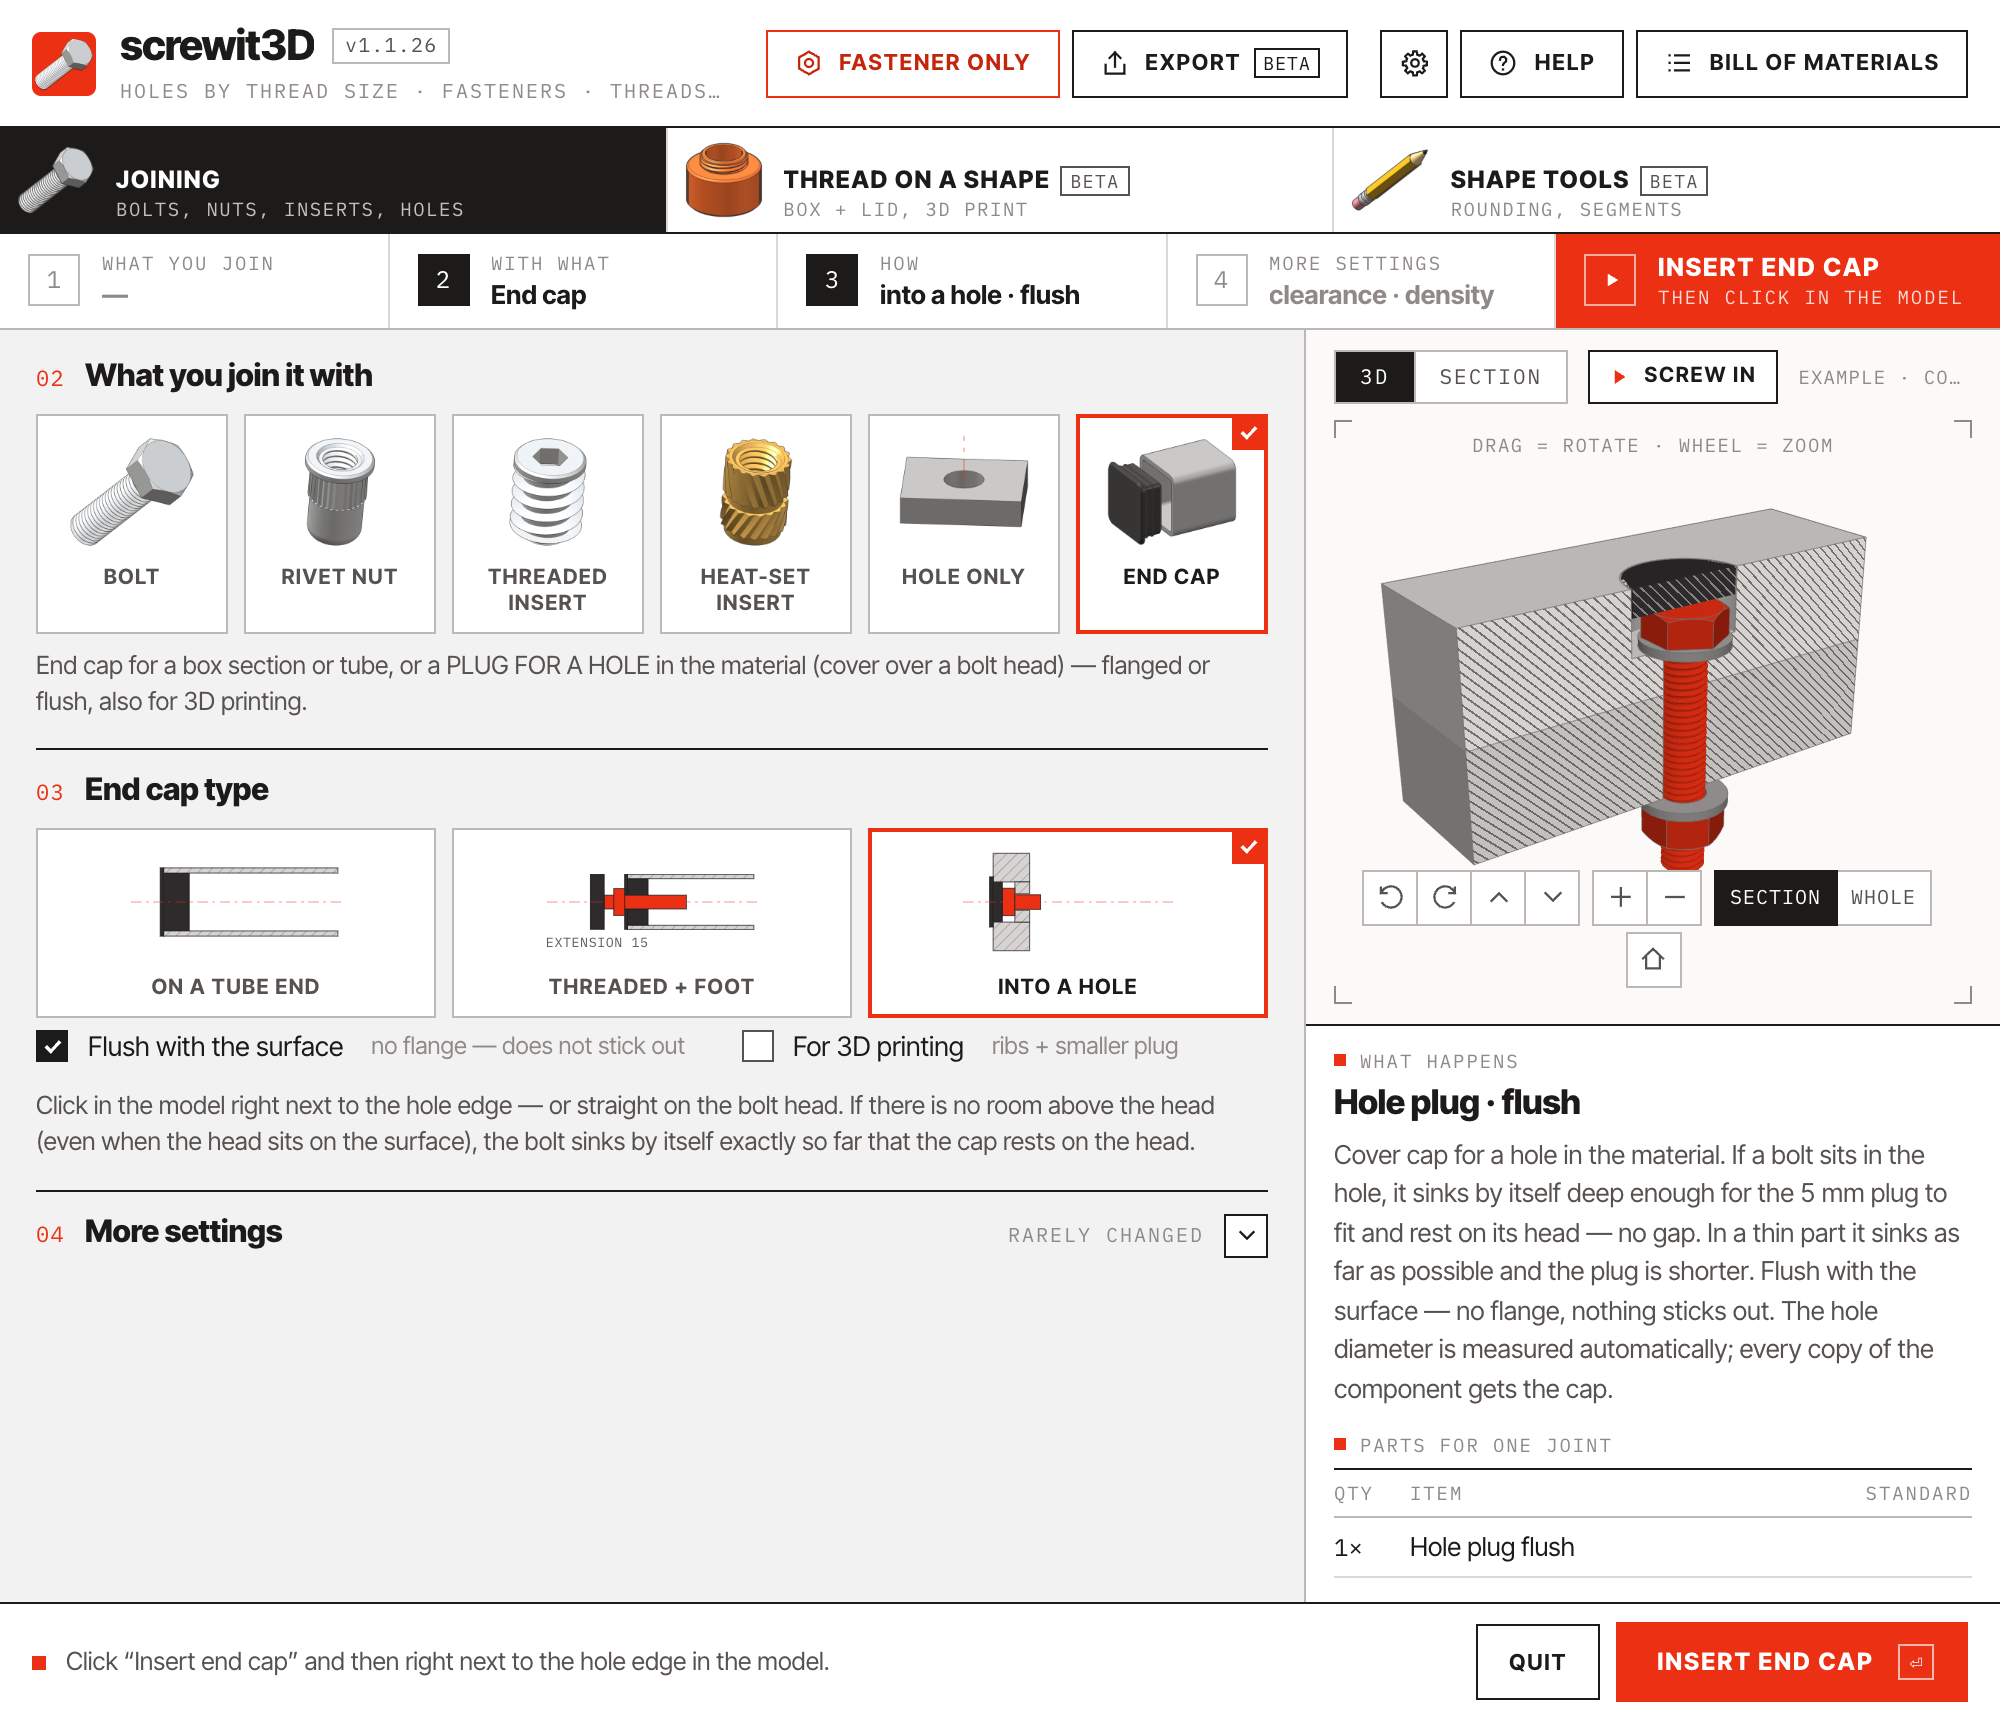
  • A plug over the bolt head. Click next to the hole and the bolt sinks by itself exactly so far that the plug rests on its head — flush with the surface, zero gap. One Undo reverts both.
  • Click the hardware in the preview. Click the head, shank, washers or nut and the panel jumps to the setting that changes it.
  • Presets. Save a modified joint style and it comes back next time, marked as modified, with a reset to the standard one click away.
  • Warnings, not walls. Too close to an edge or another hole? You get a warning and decide yourself; only a hole that would leave the face is refused.
  • Updates in one click. The extension tells you when a new version is out and installs it for you. Language, units and your defaults stay between sessions.
Hole plug flush over a recessed bolt head
Hole plug · flush — the bolt sinks so the plug rests on its head

11Use cases

Printed, steel, timber.

3D-printed assemblies

Enclosures, jigs, brackets and prototypes that bolt together with printed SI3DP hardware — or with metric bolts in printed ISO threads and heat-set inserts.

Steel frames

Square and rectangular tube frames: holes through both walls, hidden heads with key access holes, rivet nuts, end caps and levelling feet.

Furniture and joinery

Countersunk and carriage bolts, threaded inserts with pilot pockets, plugs over bolt heads, and joints that appear in your cut list with the right names.

12Why screwit3D

Minutes of modelling, replaced by one click.

Manual modellingscrewit3D
Printable threadFind a thread plugin, guess a tolerance, test-print, repeatA standard with clearance built in, plus a calibration plate
Hole through a hollow sectionCircle, push-pull, repeat on the far wall, align bothOne click, both walls, on the centre line
Bolt lengthMeasure, guess the stock size, hope it clearsComputed from the clamp, rounded to stock, warned if not
Hardware modelsDownload from the warehouse, scale, place, rotateGenerated to ISO or ASME with real threads, in the right orientation
Plug over a recessed headDeepen the counterbore by hand, move the bolt, model the plugClick once — the bolt sinks and the plug rests on its head
Changing the size laterDelete everything, start againEdit the joint — holes healed and re-cut, hardware rebuilt
Bill of materialsCount by handCatalogue names on a tag, summed by the report

13Free or full

Start free. Unlock everything when you need it.

The same package runs as the free version until you enter a licence key. Try it on your own models first — no account, no card.

Free version

Try it on your own models

0 €no key needed
  • Sizes ISO M4 and M12, ASME #8 and 1/2", 3D print (SI3DP) S6 and S12 — wood screws the same, plus the 7 mm confirmat
  • Up to 3 of each kind at a time — bolts, wood screws, 3D-print joints, anchors, caps, holes, parts
  • Joints already in a model stay editable
  • Drilling, joint editor, sections, bill of materials
Download free

Full version

Every size, no limits

one-time · excl. VAT
  • All sizes — M3–M20 and #6–3/4"
  • No limit on the number of joints
  • All 1.x updates included, no subscription
  • Up to 3 computers, commercial use permitted
Buy screwit3D
Compare free and full in detail

14Instagram

Short clips, real joints. Follow along.

Every new tool first shows up as a 30-second clip on Instagram — a real model, a real print, no slides.

@screwit3d800+ followersFollow
♥ 205Timber wall, cladding and a shelf, screwed together in under 15 minutes. The screw length picks itself, and x-ray shows every screw inside.
♥ 209Every bolt, every screw — one click. Real standards, metric and inch, right in SketchUp.
♥ 215A full cabinet with production data in under 12 minutes, real time — holes, screws, hardware → DXF for CNC.

Playing a clip loads it from Instagram (Meta) and their cookies apply from that moment. Nothing loads until you press play.

15Specifications

Technical specifications

Runs on
SketchUp 2019 – 2027macOSWindows
Interface
English, German, Spanish and Czech · millimetres or inches (fractions accepted) · settings remembered
ISO metric
M3 · M4 · M5 · M6 · M8 · M10 · M12 · M14 · M16 · M18 · M20
ASME inch
#6 to 3/4" · UNC coarse / UNF fine · B18.2.1 · B18.3 · B18.2.2 · B18.22.1 · 82° countersinks
SI3DP thread
S6 · S8 · S10 · S12 · S16 · S20 — P = 0.3 · D, flanks 45°, depth 0.1 · D, clearance −0.10 / +0.15 mm (hole clearance adjustable)
Clearance holes
ISO 273 or ASME B18.2.8 close / normal / loose, or a custom diameter
Head types
Hex, hex flange, socket cap, button, countersunk, pan, cheese, carriage
Drives
External hex, hex socket, Torx, Phillips, Pozidriv, slot, none
Standards
ISO 273 · DIN 933 · DIN 912 · DIN 6921 · ISO 7380 · DIN 7991 · ISO 14581 · DIN 603 · DIN 934 · DIN 125
Anchors
Rivet nuts M3–M12 (tube), threaded inserts M4–M12 (timber), heat-set inserts M3–M8 (3D print), joining two parts with the matching bolt
Joint styles
Through, head hidden, nut hidden, both hidden, front wall only, thread cut into the part; countersink and counterbore in solid parts; tunable, savable as presets
Threads in parts
SI3DP or ISO / ASME with print tolerance · through or blind · clearance + thread, or one continuous thread across parts · 12–32 points per turn
End caps
Square tube, round pipe or hole · flanged or flush · threaded M8 / M10 / M12 with levelling foot · bought or 3D-printed with ribs
Installation
Standard .rbz package via Extension Manager · updates in one click · licence key activated once in ⚙ Settings, then works offline

Holes to standard. Hardware you can order.